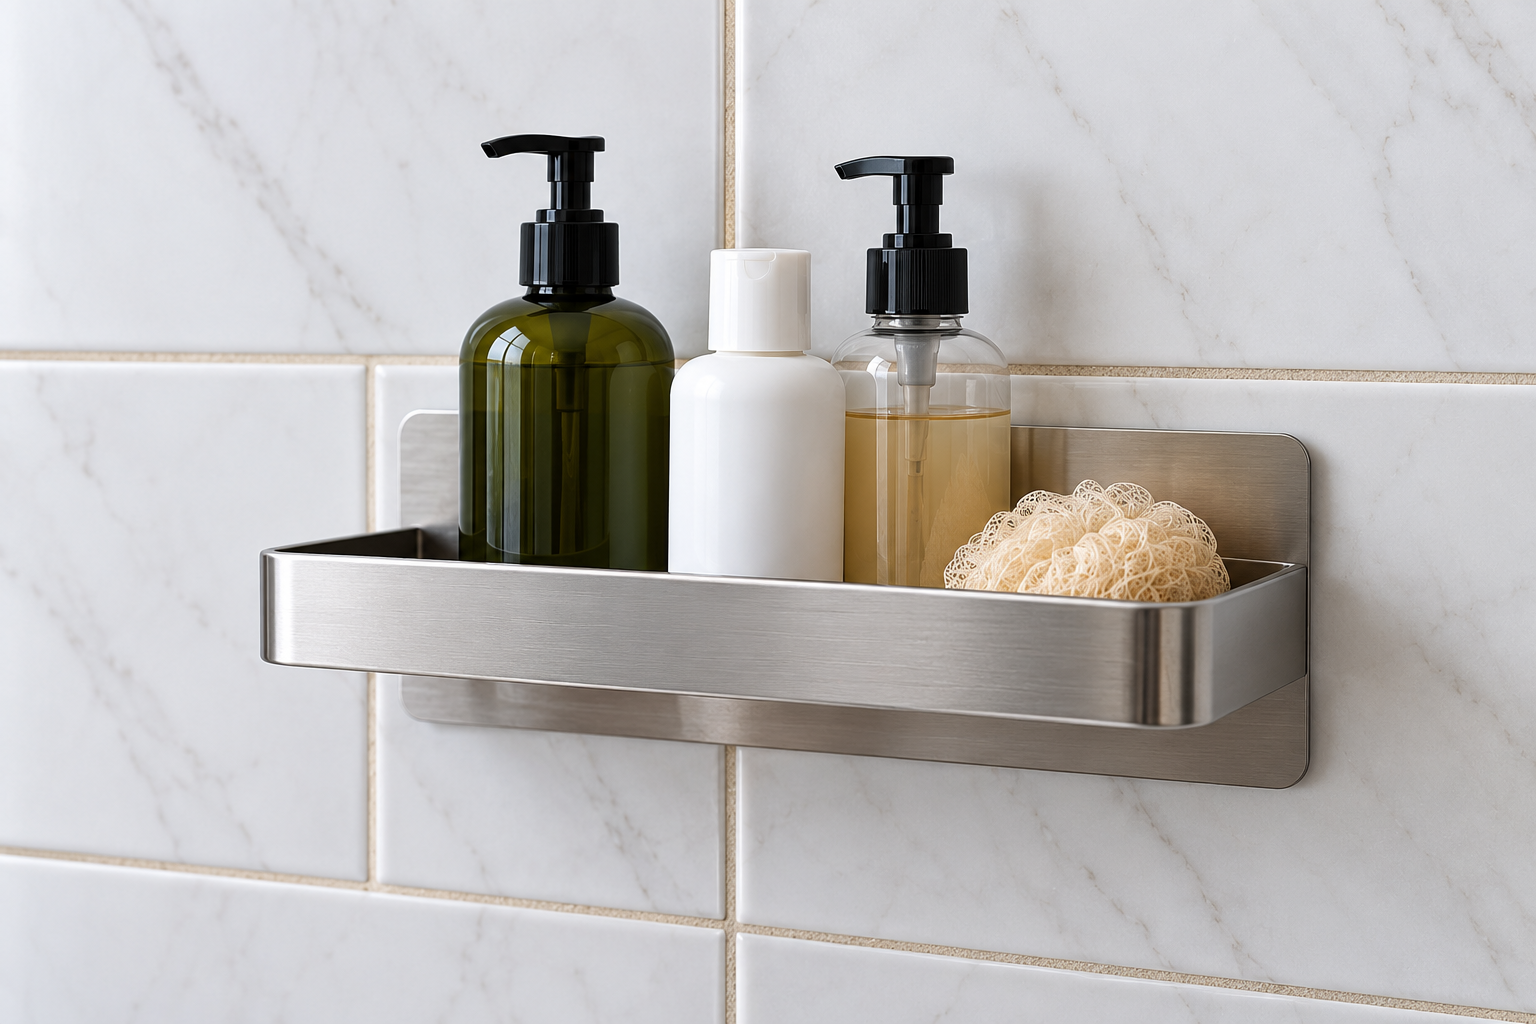
Installing an adhesive shower shelf over grout lines can be difficult because the mounting system may need continuous contact with the wall. A recessed joint can leave part of an adhesive pad or mounting plate unsupported.
That does not create a universal rule for every shelf. Suitability depends on the adhesive design, mounting footprint, tile surface, grout depth and condition, moisture, preparation, load, and exact product instructions.
Grout is only one possible cause when an adhesive shower shelf keeps falling; surface residue, moisture, incomplete mounting contact, early loading, and damaged components can also contribute.
Before installing anything, inspect the complete mounting area. If a bracket must cross a joint, confirm that the manufacturer permits that placement.
Why Grout Lines Matter for Adhesive Shower Shelves
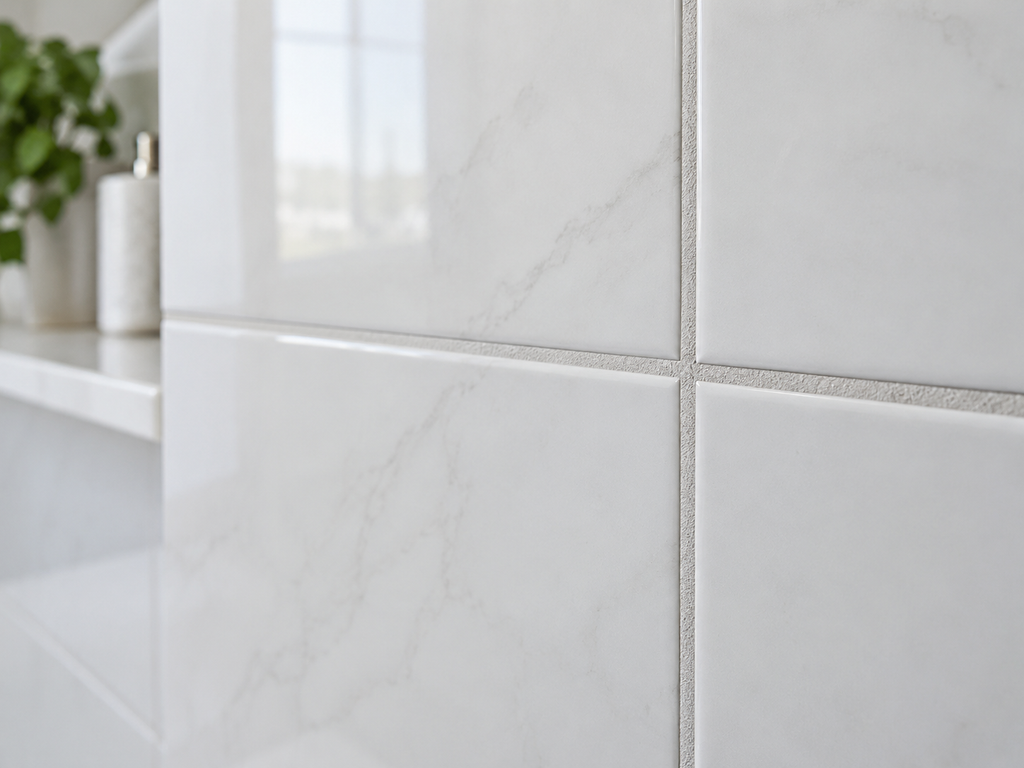
Tile faces and grout joints are separate parts of the wall surface. Glazed tile may be comparatively smooth and nonporous, while cementitious grout can differ in composition, texture, porosity, and moisture behavior.
A grout joint may also sit below the tile face. The recess can interrupt contact between the wall and a pad designed to lie flat. Beveled tile edges may make that change in level more pronounced.
Surface contact matters in adhesive bonding, but its effects are complex. A peer-reviewed review by Awaja and colleagues describes adhesion as a combination of mechanisms affected by the adhesive and substrate interface. This is general adhesion science; it did not test consumer shower shelves or establish whether a specific shelf can cross grout. University of Galway research record
The condition of the grout matters too. A sound joint is different from one that is cracked, crumbling, loose, damp, or visibly deteriorated. Covering an unstable area may conceal a maintenance problem and place a load across a weak surface.
Grout is not the only surface issue to consider; an adhesive shower shelf on textured tile may also have difficulty achieving complete mounting contact when the wall has ridges or raised patterns.
Moisture is another concern. Research on structural adhesive joints has shown that water can affect adhesives and their interfaces. Those laboratory and engineering findings provide general background rather than product-specific performance data for bathroom shelves. Bowditch, “The Durability of Adhesive Joints in the Presence of Water”
 Save
SaveThe instructions for the exact shelf remain the controlling source for approved surfaces, preparation, placement, waiting time, load, and removal.
Can an Adhesive Shower Shelf Go Over a Grout Line?
Some mounting designs may accommodate a grout joint, while others may require the entire adhesive area to sit on a flat, uninterrupted surface. Without instructions for the exact shelf, there is no reliable universal answer.
Start by examining how the shelf attaches. A shelf may use:
- One large adhesive pad
- Several smaller strips
- Separate mounting plates
- Rigid adapters filled with adhesive
- Another proprietary mounting system
Each design creates a different contact pattern. The visible shelf can be wider than the parts that actually bond to the wall.
If the entire mounting area must remain flat, a recessed grout line may reduce contact or leave a gap. A more flexible mounting component may behave differently, but only its manufacturer can establish whether bridging the joint is allowed.
Do not treat a lack of grout-specific instructions as approval. Contact the manufacturer if the documentation does not resolve the question.
Renters should also check lease restrictions and document the wall before installation. Ask the landlord or property manager for guidance when the grout is deteriorated, the surface is unknown, or the mounting method is unclear.
Adhesive Shower Shelf Over Grout Lines: 7 Things to Check
1. Manufacturer-Approved Surface Requirements
Read the installation and removal instructions for the exact shelf model. Confirm which surfaces and bathroom locations are approved.
A general statement that a product works on tile may not include grout, natural stone, textured finishes, coated panels, or damaged surfaces. It also may not apply to every location inside a shower.
Check whether all adhesive components must sit on one type of surface. Save the instructions so the correct removal process is available later.
Do not substitute directions from a similar-looking shelf. Product-specific requirements should come from the manufacturer’s technical documentation.
2. Size of the Mounting Pad or Plate
Measure the complete footprint of every pad, plate, strip, or adapter. Compare those dimensions with the usable tile faces at the intended location.
Check whether any edge would rest on a bevel or whether any part would cross a recessed joint. With multiple brackets, inspect each mounting location separately.
Do not trim an adhesive pad, cut a plate, change bracket spacing, or omit a mounting component. These changes may alter how the shelf carries its load.
If the required footprint cannot fit on a permitted surface, use another shelf or storage method.
 Save
Save3. Depth of the Grout Line
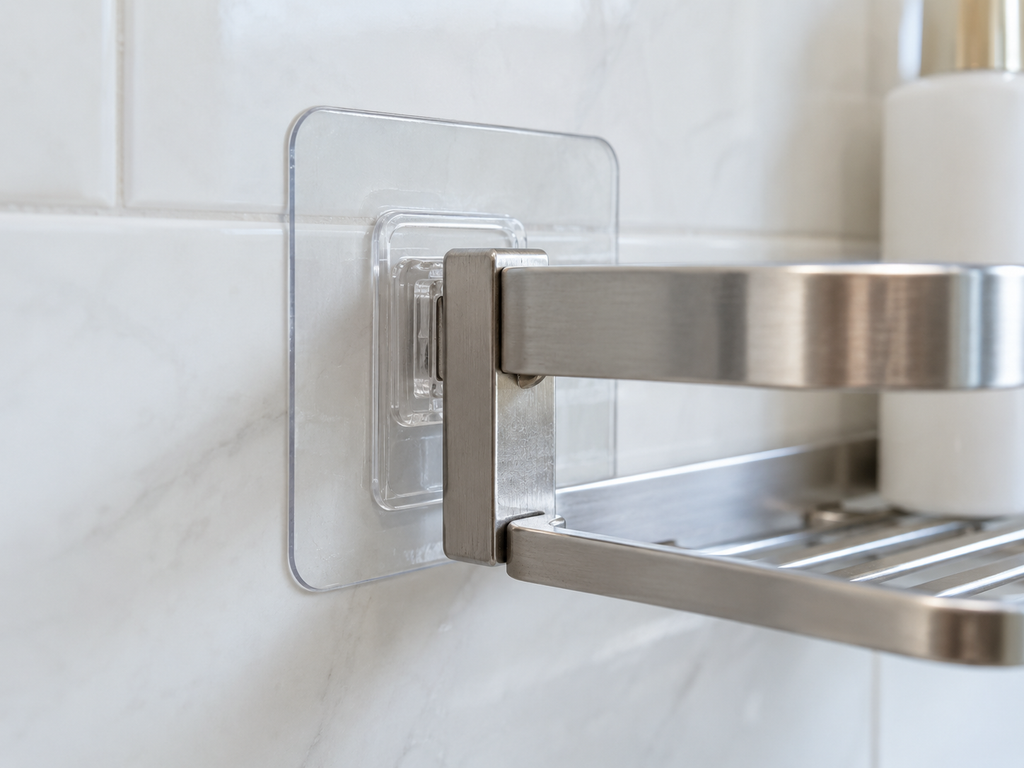
View the joint from the side under good lighting. Compare the grout level with the adjacent tile faces.
A shallow joint and a deep joint do not present the same geometry. Still, there is no universal maximum grout depth that applies to all adhesive shelves.
A rigid mounting plate may bridge a recess, leaving less contact than its full visible area suggests. A flexible pad may conform differently, but that does not prove that the installation meets its requirements.
Do not fill the joint with glue, caulk, tape, putty, or another improvised material. Added material can behave unpredictably in moisture and complicate removal.
4. Tile Texture and Flatness
Smooth glazed tile may be easier to assess than textured or uneven tile, but it is not automatically suitable.
Raised patterns, beveled edges, intentional ripples, cracks, and surface coatings can affect mounting contact. Even a large tile may not be flat across the complete bracket footprint.
Research shows that roughness can change adhesive behavior, but the relationship depends on factors such as the materials, scale of the roughness, and bonding mechanism. It should not be reduced to the claim that rougher is always better or worse.
Inspect the exact area and compare it with the shelf requirements. Do not install over loose or moving tile.
5. Grout Condition
Look for:
- Cracks
- Crumbling or powdery areas
- Loose sections
- Gaps or missing material
- Persistent dampness
- Staining or other deterioration
- Movement when the surrounding area is handled normally
Visible damage is a reason to pause before adding a load. Photograph it and notify the property manager when appropriate.
Staining alone does not identify the cause, and renters should not cover a potentially damp or deteriorating joint with a mounting plate.
Do not install an adhesive shelf over cracked, loose, crumbling, damp, or visibly unstable grout. Document the condition and have it assessed before covering the area or adding weight.
6. Moisture and Surface Preparation
Soap film, body-care oils, mineral deposits, cleaner residue, and surface moisture may affect mounting contact.
Use a preparation method compatible with both the wall and the exact adhesive system. A cleaner suitable for glazed ceramic tile may be inappropriate for natural stone, grout, coated glass, paint, or a waterproof wall panel.
Do not invent a universal cleaner. Read the tile or surface-care guidance and the shelf instructions. Never mix cleaning products.
Prepare or dry the area exactly as required. Keep fingers away from adhesive surfaces when instructed, since skin oils can contaminate the contact area.
Academic research on industrial and structural adhesive joints establishes that surface and interface conditions influence bonding. It does not supply the cleaning procedure for a consumer bathroom shelf, so the product instructions must provide that step.
7. Shelf Load and Installation Requirements
A loaded shelf places sustained force on its mounting system. Full shampoo and body-wash bottles may be considerably heavier than empty containers, and uneven placement can concentrate the load.
Follow the stated product limits and loading directions. Do not combine limits from similar products or assume extra adhesive increases capacity.
Complete each installation step in order. If the manufacturer specifies a waiting or curing period, observe that exact period before attaching or loading the shelf.
There is no universal waiting time. Loading the shelf early may interfere with a system that requires time to develop its intended bond.
Keep breakable, sharp, hazardous, and valuable items out of locations where a falling shelf could cause injury or damage.
What Happens When Adhesive Crosses a Grout Line?
Depending on the mounting system and wall, a grout joint may reduce the area of direct contact between the adhesive and tile.
A recessed joint could also create uneven contact, an air gap, or a pathway where moisture can reach part of the mounting interface. A rigid plate may carry more stress through the portions that touch the highest surfaces.
These effects are possible rather than guaranteed. Their significance depends on joint depth, adhesive thickness, plate stiffness, preparation, moisture exposure, load, and product design.
Removal may become more complicated because adhesive residue can remain across two surfaces with different properties. A method suitable for glazed tile may be too aggressive for porous or deteriorated grout.
Initial attachment does not confirm long-term suitability. Inspect the shelf according to its manufacturer’s maintenance guidance and unload it if the mounting system begins separating or moving.
Is It Better to Mount the Shelf Entirely on Tile?
When a product requires a flat, uninterrupted contact area, placing the complete mounting footprint on one approved tile face may be easier to evaluate than bridging a joint.
That is not a universal instruction for every adhesive shelf. The tile must still meet the product’s requirements for material, texture, flatness, condition, cleanliness, and location.
Moving the shelf to avoid grout should not obstruct the showerhead, controls, grab bars, door, curtain, drain, or entry area. The shelf should also remain comfortable to reach.
Do not move brackets independently or change their required spacing. If the complete system cannot fit on an approved area, choose another design.
How to Prepare Tile Before Installing an Adhesive Shelf
Use the exact product instructions as the controlling procedure. This general sequence helps organize the assessment:
 Save
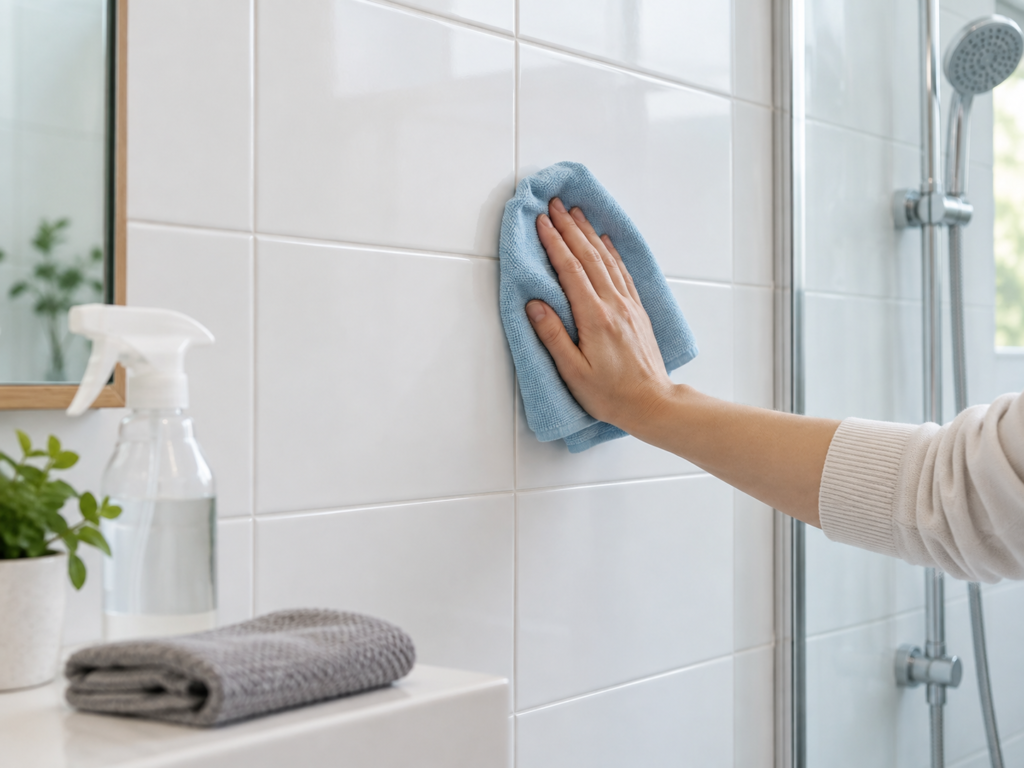
Save- Inspect the tile and grout. Look for cracks, movement, crumbling joints, dampness, staining, and other deterioration.
- Identify the surface type. Determine whether the wall is glazed ceramic, porcelain, stone, glass, a coated panel, or another material.
- Read the exact shelf instructions. Confirm surface compatibility, mounting configuration, preparation, load, waiting requirements, and removal.
- Check whether the intended mounting footprint crosses grout. Examine every pad, strip, plate, or adapter.
- Clean using a method compatible with the surface. Do not transfer a cleaning procedure from another product without verification.
- Remove soap film, oils, and residue as appropriate. Follow the surface and adhesive guidance without using unverified solvents or abrasives.
- Prepare or dry the surface exactly as required. Do not invent a drying time or preparation step.
- Position the mounting system on a suitable area. Preserve required bracket spacing and keep all components in their intended orientation.
- Follow the exact installation sequence. Do not alter mounting plates, pads, or adhesive quantities.
- Observe any manufacturer-specified waiting period before loading. Add contents only after completing every required step.
Document the installation and keep the instructions. They may be important when the shelf is inspected, adjusted, or removed.
What Not to Do
Avoid these installation shortcuts:
- Do not assume grout behaves like glazed tile. The materials can differ in texture, porosity, composition, and moisture behavior.
- Do not bridge a deep or damaged grout line unless the exact product instructions permit it.
- Do not fill the joint with random adhesive, caulk, tape, putty, or another improvised material.
- Do not install over cracked, loose, crumbling, or damp grout.
- Do not install over soap film, oils, mineral deposits, or cleaner residue.
- Do not cut, trim, drill, bend, or otherwise modify a mounting plate.
- Do not exceed the stated product load limits.
- Do not shorten a required waiting or curing period.
- Do not force a shelf into a location that does not meet its installation requirements.
- Do not use the shelf as a grab bar or body support.
If the shelf cannot be installed as designed, change the storage plan instead of improvising the attachment.
What If Your Tiles Are Too Small?
Small-format tile may leave no uninterrupted area large enough for the mounting footprint. Measure the tile faces and grout spacing before selecting a shelf.
Look for a larger compatible tile face elsewhere in the shower, provided the shelf would remain accessible and clear of fixtures.
A suitable suction system may work if each cup can maintain the seal required by its manufacturer. Suction cups can also be disrupted by grout, so this is not an automatic solution.
A tension shower caddy uses opposing contact points rather than bonding to the tiled wall. It still requires a compatible height, sound contact surfaces, correct pressure, and stable installation.
Over-the-door organizers and freestanding storage outside the shower can hold towels or backup toiletries without using the grout-heavy wall.
A guide to bathroom storage without drilling can help compare these approaches. The most useful alternative is one that fits the room and can be installed according to its instructions.
Adhesive vs Suction Storage on Grout-Heavy Walls
Grout lines may present problems for both systems.
Suction generally depends on maintaining an uninterrupted seal. A recessed, textured, or porous joint can create a pathway for air.
Adhesive mounting depends on the contact required by the product design. A grout line may reduce or interrupt that contact, but different pads and adapters can have different requirements.
Neither method is universally suitable. Surface condition, mounting footprint, maintenance, moisture, load, and removal all matter.
A fuller guide to adhesive vs suction shower shelves can help renters compare those tradeoffs without assuming either method will work on every tiled wall.
Removing an Adhesive Shelf From Tile and Grout
Removal can affect tile and grout differently. Glazed tile may tolerate a manufacturer-approved removal method that would disturb loose or porous grout.
Unload the shelf and follow its exact removal sequence. Do not pull the unit forcefully away from the wall or scrape across the joint without surface-specific guidance.
If you need to remove an adhesive shower shelf that crosses grout, document the area first and stop if the joint crumbles, moves, or remains damp. Contact the property manager when damage or the mounting method is uncertain.
Frequently Asked Questions
Can adhesive shower shelves stick to grout?
Some mounting systems may permit contact with certain grout, while others require the adhesive to remain on a flat, approved tile surface.
Grout differs in composition, porosity, texture, depth, and condition. Check the instructions for the exact shelf rather than assuming that compatibility with tile includes grout.
Can an adhesive mounting plate cross a grout line?
Only if the product instructions permit that placement and the complete mounting area meets the stated requirements.
A recessed grout line may reduce uniform contact beneath the plate. Measure its full footprint and ask the manufacturer if the documentation does not address joints.
Does grout weaken adhesive shower shelves?
A grout joint may interrupt contact, create uneven support, or expose part of the interface to moisture. Whether that affects a particular shelf depends on the mounting system and surface.
It is more accurate to assess the joint’s depth, texture, condition, and compatibility than to assume all grout weakens every adhesive.
Can you put an adhesive shower shelf on small tiles?
Possibly, if all mounting components fit the approved surfaces in their required positions. Small tiles often make it difficult to keep a wide pad or plate away from grout.
Do not trim adhesive components or change bracket spacing. Choose a smaller mounting footprint or another storage method when the required contact is unavailable.
Should you install adhesive shelves on tile or grout?
If the exact product requires flat, uninterrupted contact with an approved tile face, keep the complete mounting footprint on that tile.
Another shelf may use a different system. Follow its surface and placement requirements instead of applying one rule to every product.
What should you do if the grout is cracked or loose?
Do not mount the shelf over it. Photograph the condition and notify the landlord or property manager.
The joint may need assessment or repair before storage is attached nearby. Do not conceal the defect with adhesive, caulk, or a mounting plate.
Final Thoughts
Before installing an adhesive shower shelf over grout lines, inspect the entire mounting footprint and the condition of both tile and grout.
Consider whether the pad or plate will remain flat and supported. Check for recesses, texture, cracks, dampness, residue, and movement, then follow the exact product instructions.
Do not modify the mounting system or fill an unsuitable joint with improvised material. When the wall cannot provide the required contact, choose another renter-friendly storage method.
3 thoughts on “Can Adhesive Shower Shelves Be Used Over Grout Lines?”
Comments are closed.