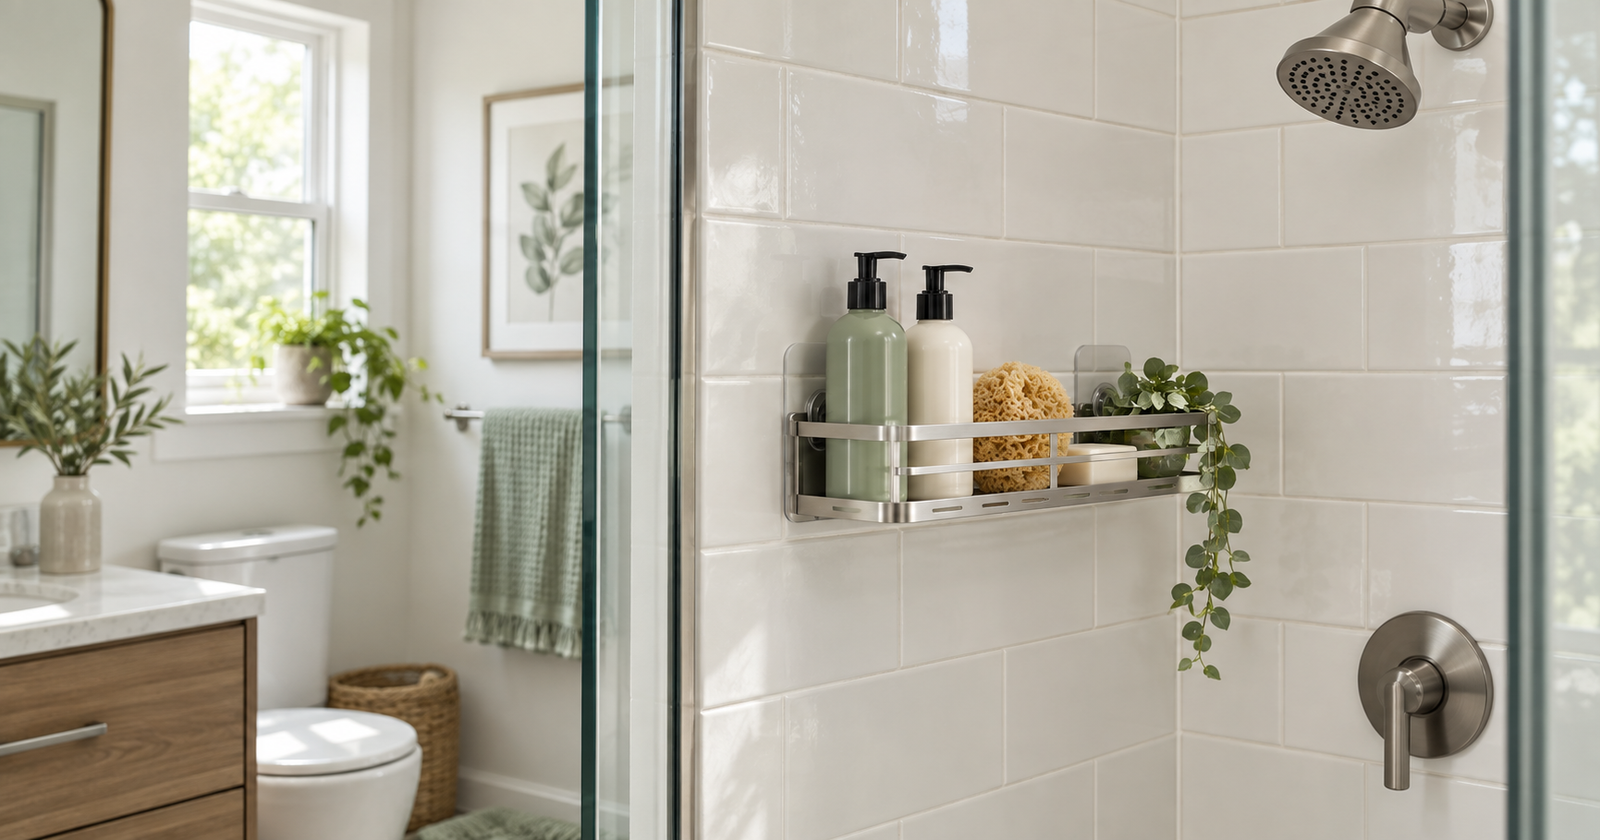
To remove an adhesive shower shelf without unnecessary damage, avoid simply pulling it away from the wall. The wrong motion can crack the shelf, lift a finish, damage grout, or leave a difficult patch of adhesive behind.
If your adhesive shower shelf keeps falling, it is worth identifying the likely cause before installing another mounting pad or repeating the same setup.
The safest approach depends on the exact adhesive system, mounting surface, age of the installation, moisture exposure, and condition of the bathroom finish. A method that works for one shelf may be inappropriate for another.
Start by identifying the product and finding its removal instructions. Work slowly, stop if the surface begins to move or change, and contact the property manager when you are unsure what is behind the shelf.
Before You Remove an Adhesive Shower Shelf
Empty the shelf completely. Remove bottles, soap, razors, and detachable accessories so they cannot fall while you work. Take off any removable baskets or trays if the product’s design allows it.
Let the shelf and surrounding area dry. Water makes the shelf harder to grip and may hide cracks, loose grout, or changes in the finish.
Inspect the mounting area under good light. Look for:
- Cracked or loose tile
- Missing, cracked, or deteriorated grout
- Peeling paint or coating
- Flexible wall panels
- Rust around the mounting hardware
- Adhesive that has already begun separating
- Signs of moisture behind or around the shelf
Photograph the shelf and surrounding surface before removal. Include close views of existing defects and a wider image showing the shelf’s location. These records can help distinguish an existing condition from something discovered during removal.
Try to identify the shelf, mounting plate, and adhesive system. Check the original packaging, order history, model number, installation guide, or manufacturer’s website. Determine whether the shelf slides off a mounting plate, unlocks from brackets, releases with pull tabs, or uses adhesive pads intended to be cut or peeled in a particular direction.
If the shelf was already installed when you moved in, or if you cannot identify how it is attached, contact the landlord or property manager before proceeding. The shelf may belong to the rental, and removing it without permission could create responsibility for repairs.
Check the Manufacturer’s Removal Instructions First
Adhesive systems are not interchangeable. Stretch-release strips, foam pads, liquid adhesives, double-sided tapes, and proprietary mounting plates can require different removal methods.
Some shelves must be detached from their mounting plates before the adhesive is released. Others use a tab that must remain accessible and be pulled in a specified direction. Pulling the shelf itself may transfer force to the tile or finish instead of releasing the adhesive.
For example, 3M’s instructions for Command Bathroom Solutions direct users to remove a two-piece fixture from its base, gently support the base, and slowly stretch the strip straight down along the wall. The company specifically warns against pulling the strip outward. These steps apply to the identified Command system and should not be treated as universal instructions for other products. Command Bathroom Solutions removal instructions
Check for separate instructions covering a broken tab or aged adhesive. A manufacturer may recommend a fallback procedure that would be inappropriate for another mounting system.
If the instructions conflict with general removal advice, follow the manufacturer’s directions for the exact product and approved surface. If the product cannot be identified, use conservative measures and ask the property manager or a qualified professional rather than experimenting.
What You’ll Need
The appropriate supplies depend on the shelf and surface. A restrained starting kit may include:
- The manufacturer’s removal instructions
- A dry microfiber cloth
- Clean towels to protect the tub or shower floor
- A plastic container or bag for removed parts
- Mild cleaner approved for the specific surface
- Clean water, if permitted by the surface-care instructions
- A nonabrasive sponge or soft cloth
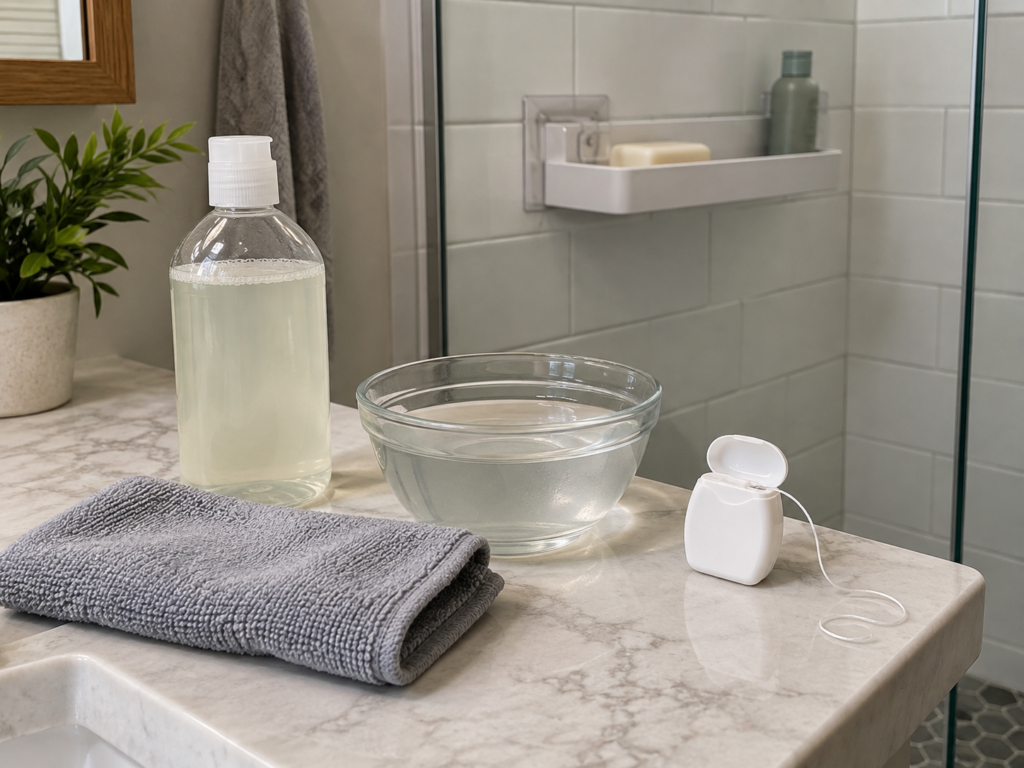
- Dental floss or another nonmetal separator only if the manufacturer recommends it
- A surface-compatible adhesive remover only when approved for the tile, grout, and adhesive involved
- Appropriate gloves or other protection specified on a cleaner’s label
Do not begin with a metal scraper, razor blade, strong solvent, or heat source. These may damage finishes or create additional hazards.
If a manufacturer permits heat for a specific fallback procedure, confirm that the shelf, waterproof wall panel, grout, sealant, and nearby finishes can tolerate it. Heat is not a general first step.
 Save
SaveHow to Remove an Adhesive Shower Shelf Step by Step
1. Empty and Dry the Shelf
Remove every stored item and any detachable shelf components. Place a folded towel below the work area to protect the tub or shower floor from dropped parts.
Dry the shelf, wall, and your hands. Good lighting and a secure working position are important. Do not stand on a wet tub edge or use the shelf for balance.
If the shelf is above a difficult-to-reach location, use an appropriate stable platform outside the wet area or seek help rather than overreaching.
2. Identify the Adhesive System
Look for pull tabs, locking clips, covers, release levers, screws, or a separate mounting plate. Check the underside and sides without twisting the shelf.
Compare what you see with the product instructions. Confirm whether the visible shelf should come off before the adhesive base.
Do not assume a hidden attachment is adhesive. Some “no-drill” systems use mechanical clamps or locking parts that must be released in a specific order.
3. Release the Shelf or Mounting Plate
If the instructions say to remove the shelf from its base, support it with both hands and use the stated direction of movement. Avoid rocking or levering it against the wall.
Place removed pieces somewhere safe. Once the mounting plate is exposed, locate all adhesive tabs or pads before continuing.
If the shelf does not release with the instructed motion, stop. Recheck the guide for a locking tab or fastener rather than increasing force.
4. Remove the Adhesive Slowly
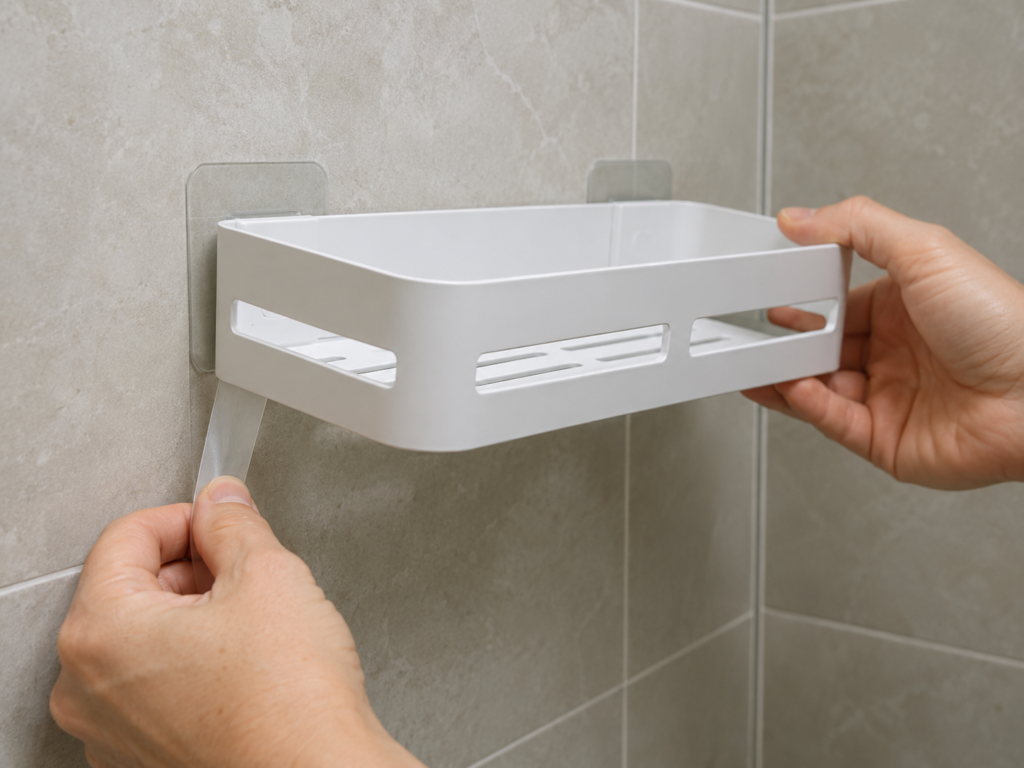
Follow the exact direction, angle, and speed specified by the manufacturer. Keep the mounting plate supported if instructed so it cannot snap away or fall.
For a stretch-release system, the adhesive may need room to extend along the wall. Maintain access to the tab and avoid blocking its path with your hand or a tool.
For a peel-release pad, follow the approved peeling direction. Do not substitute pulling the shelf directly away from the wall.
Pause if the tile moves, the glaze appears to change, grout begins crumbling, or resistance increases unexpectedly.
 Save
Save5. Deal With Remaining Residue
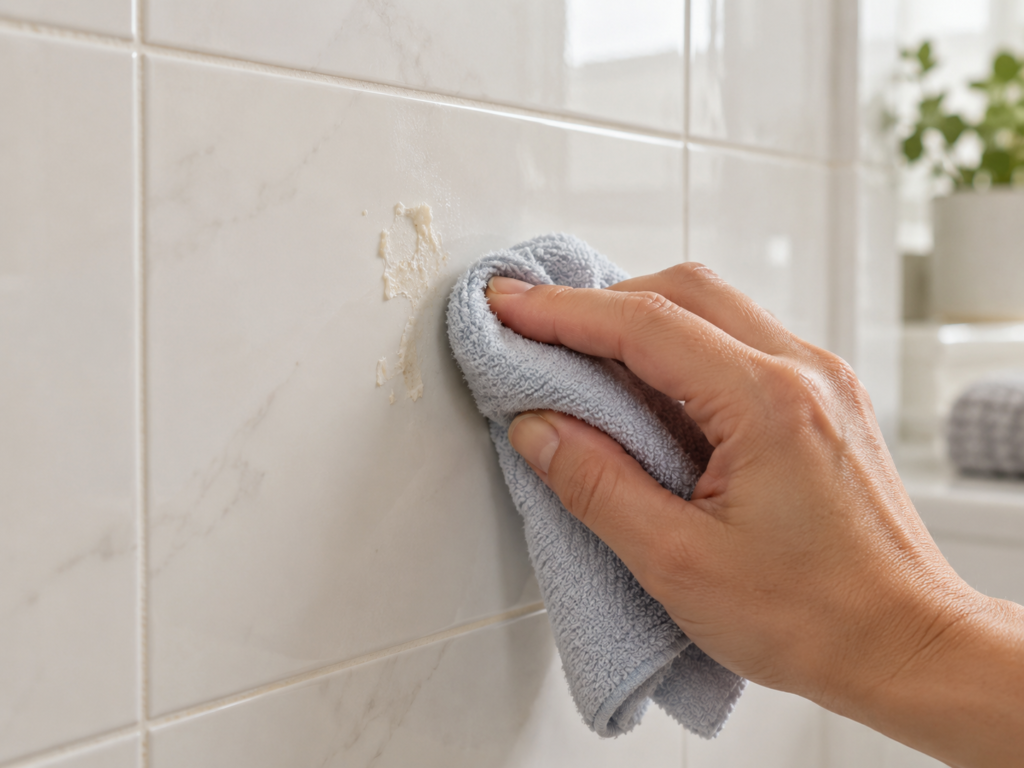
After the shelf and mounting hardware are removed, examine the residue without scraping it immediately. Loose adhesive may roll or lift with gentle pressure from a clean finger or soft cloth, but only if the surface and adhesive guidance permit that method.
If residue remains, identify the tile and check its care instructions. Choose a cleaner or adhesive remover labeled as compatible with the exact surface. Also consider nearby grout, caulk, painted trim, and waterproof panels that could be contacted by the product.
Test the chosen method in a small, inconspicuous area first. Follow label instructions for ventilation, protective equipment, application time, and rinsing. Never mix cleaning chemicals.
6. Clean and Inspect the Surface
Remove any permitted cleaner residue according to the product and surface-care instructions. Dry the area with a soft cloth.
Inspect the tile, grout, and surrounding finish again. Compare the area with your photographs. Look for hairline cracks, discoloration, loosened grout, dull spots, or remaining adhesive.
If you uncover damage, document it and notify the property manager. Avoid covering the problem with another shelf before it is assessed.
How to Remove Adhesive Residue From Bathroom Tile
The correct residue-removal method depends on both the adhesive and the surface. “Bathroom tile” can describe several materials and finishes that do not respond to cleaners in the same way.
 Save
SaveGlazed ceramic or porcelain tile
A sound glazed surface may tolerate gentle cleaning better than grout or painted material, but the glaze can still be scratched or dulled. Begin with the tile manufacturer’s care guidance and the adhesive manufacturer’s removal advice.
Daltile recommends nonabrasive cleaning practices, following product directions, and testing cleaning or maintenance products in a small area first. It also cautions that some polished porcelain finishes can be affected by acid- or solvent-based chemicals. Daltile ceramic and porcelain care guidance
Do not assume a cleaner labeled for one type of porcelain is suitable for every glaze or adjacent grout.
Glass
Glass may appear durable, but coatings, films, decorative finishes, and nearby sealants can be vulnerable. Confirm whether the shower enclosure has a protective coating and follow its care instructions.
Avoid metal blades unless the glass manufacturer explicitly permits them. A blade can scratch coated glass, catch an edge, or damage nearby sealant.
Grout
Grout is usually more porous and vulnerable than glazed tile. Avoid saturating it with an unverified solvent or adhesive remover.
Do not aggressively scrub, scrape, or pick at grout joints. If adhesive crosses a grout line or the grout is already loose, contact the property manager or an appropriate professional.
Painted surfaces
Paint can lift with the adhesive, particularly if it was poorly bonded, damp, recently applied, or incompatible with the mounting product. Stop if paint stretches, bubbles, flakes, or separates.
Do not treat a painted wall like glazed tile. A cleaner suitable for ceramic may discolor or soften paint.
Textured or porous surfaces
Texture increases the area to which adhesive can bond and makes residue harder to reach. Porous tile, natural stone, unsealed grout, and textured wall panels may absorb cleaners or solvents.
When the material is uncertain, do not proceed with chemical residue removal. Ask the manufacturer, landlord, or a qualified surface professional for guidance.
What Not to Do When Removing Adhesive Storage
Avoid these common removal mistakes:
- Do not pull the shelf forcefully away from the wall. This can transfer stress to tile, grout, paint, or a waterproof panel.
- Do not use metal blades on vulnerable finishes. They can scratch glaze, coatings, glass, or surrounding materials.
- Do not apply excessive heat. Heat may deform plastic, affect sealants, damage finishes, or create a burn hazard.
- Do not use an unverified solvent. A chemical that dissolves adhesive may also discolor, soften, or penetrate the surface.
- Do not soak vulnerable grout or finishes. Excess liquid can spread into joints, damaged coatings, or porous materials.
- Do not mix cleaners. Chemical combinations can create dangerous reactions.
- Do not assume all tiles behave alike. Glaze, texture, porosity, coatings, and condition change what a surface can tolerate.
- Do not keep escalating force when the method fails. Stop and identify the attachment before causing damage.
- Do not reinstall over an unresolved defect. Cracks, loose grout, moisture, or finish damage should be assessed first.
What If the Adhesive Will Not Come Off?
Stop before changing to a sharper tool, stronger chemical, or hotter setting. Persistent adhesive usually calls for better identification, not greater force.
Recheck the product instructions and manufacturer support pages. Look for guidance covering broken pull tabs, aged adhesive, or detached mounting plates.
For certain Command products, 3M’s FAQ describes dental floss as a way to separate a base when a strip breaks and mentions heat as part of that specific fallback procedure. That is manufacturer guidance for those products, not permission to use floss or heat on every shower shelf or bathroom surface. Command FAQ for broken strips
If you consider any fallback method, verify that it is approved for the exact adhesive and compatible with the mounting surface. Protect nearby grout and caulk, and stop if the finish changes.
When the shelf is unidentified, residue crosses damaged grout, or the surface appears loose, document the condition and contact the property manager. A tile or surface-care professional may be the appropriate next step.
How Renters Can Reduce the Risk of Damage
Good records and conservative choices can reduce uncertainty before, during, and after adhesive shelf removal.
- Photograph the installation and surrounding finish before starting.
- Keep the shelf packaging, instructions, model number, and receipts when available.
- Check lease requirements before removing a fixture supplied with the rental.
- Use the manufacturer’s removal process rather than a general online shortcut.
- Work with the shelf empty and the area dry.
- Test any approved cleaner in an inconspicuous location.
- Protect the tub or shower floor from falling hardware.
- Stop when tile, grout, paint, or panels begin moving or changing.
- Photograph the area again after removal.
- Tell the property manager promptly if you uncover moisture or existing damage.
For future bathroom storage without drilling, examine both installation and removal instructions before attaching anything. A product’s mounting convenience does not determine how easily it will come down from your particular surface.
Adhesive vs Suction Storage After Removal
If you still need shower storage, compare the mounting surface before choosing a replacement.
Adhesive shelves can provide a fixed mounting point, but they depend on surface compatibility, preparation, load, moisture exposure, and correct removal. Reusing the same location may be inappropriate if residue or damage remains.
Suction shelves avoid adhesive but generally depend on a smooth, nonporous surface that can maintain a seal. Texture, grout lines, residue, and small surface irregularities may reduce their grip. Suction attachments also need inspection and maintenance according to their instructions.
A guide to adhesive vs suction shower shelves can help you compare these tradeoffs. Neither method is universally safer for every rental bathroom.
Frequently Asked Questions
How do you remove an adhesive shower shelf from tile?
Empty and dry the shelf, identify its mounting system, and follow the manufacturer’s removal instructions. Detach the shelf from its mounting plate first if directed. Release the adhesive slowly in the specified direction, then use only surface-compatible methods for residue.
Stop if tile, grout, or another finish begins moving or changing.
Will adhesive shower shelves damage tile?
They can cause damage or leave residue. The outcome depends on the adhesive, tile finish, grout, installation age, moisture, removal technique, and existing surface condition.
Glazed tile may respond differently from porous tile, painted surfaces, or textured wall panels. No adhesive mounting system can guarantee an unchanged surface in every situation.
How do you remove leftover adhesive from bathroom tile?
Identify the tile and adhesive first. Check both manufacturers’ guidance, then use a compatible nonabrasive method. Test an approved cleaner or adhesive remover in a small, inconspicuous area and follow its label.
Avoid indiscriminate solvent use, metal scraping, and soaking nearby grout.
Can heat help remove shower adhesive?
Heat is included in the manufacturer’s fallback guidance for some adhesive systems, but it is not universally safe. It may affect plastic shelves, waterproof panels, coatings, grout, caulk, or other finishes.
Consider heat only when the adhesive manufacturer recommends it and the surface guidance allows it. Use the specified method rather than improvising.
Can you reuse an adhesive shower shelf after removing it?
The shelf hardware may be reusable if the manufacturer says so and it remains undamaged. The original adhesive usually should not be reused unless its instructions explicitly allow that.
Use only the correct replacement mounting components, inspect the shelf, and repeat the manufacturer’s installation process. Do not reinstall over residue, loose grout, damaged tile, or an unsuitable surface.
Final Thoughts
To remove an adhesive shower shelf responsibly, identify the mounting system before applying force. Empty the shelf, dry the area, document its condition, and follow the manufacturer’s removal sequence.
Treat remaining residue as a separate surface-care task. Glazed tile, glass, grout, paint, and textured materials require different precautions, and cleaners should be verified before use.
If the adhesive resists removal or the surface begins to change, stop. Asking the property manager or a qualified professional is safer than escalating to a method that could turn a small storage change into a repair.