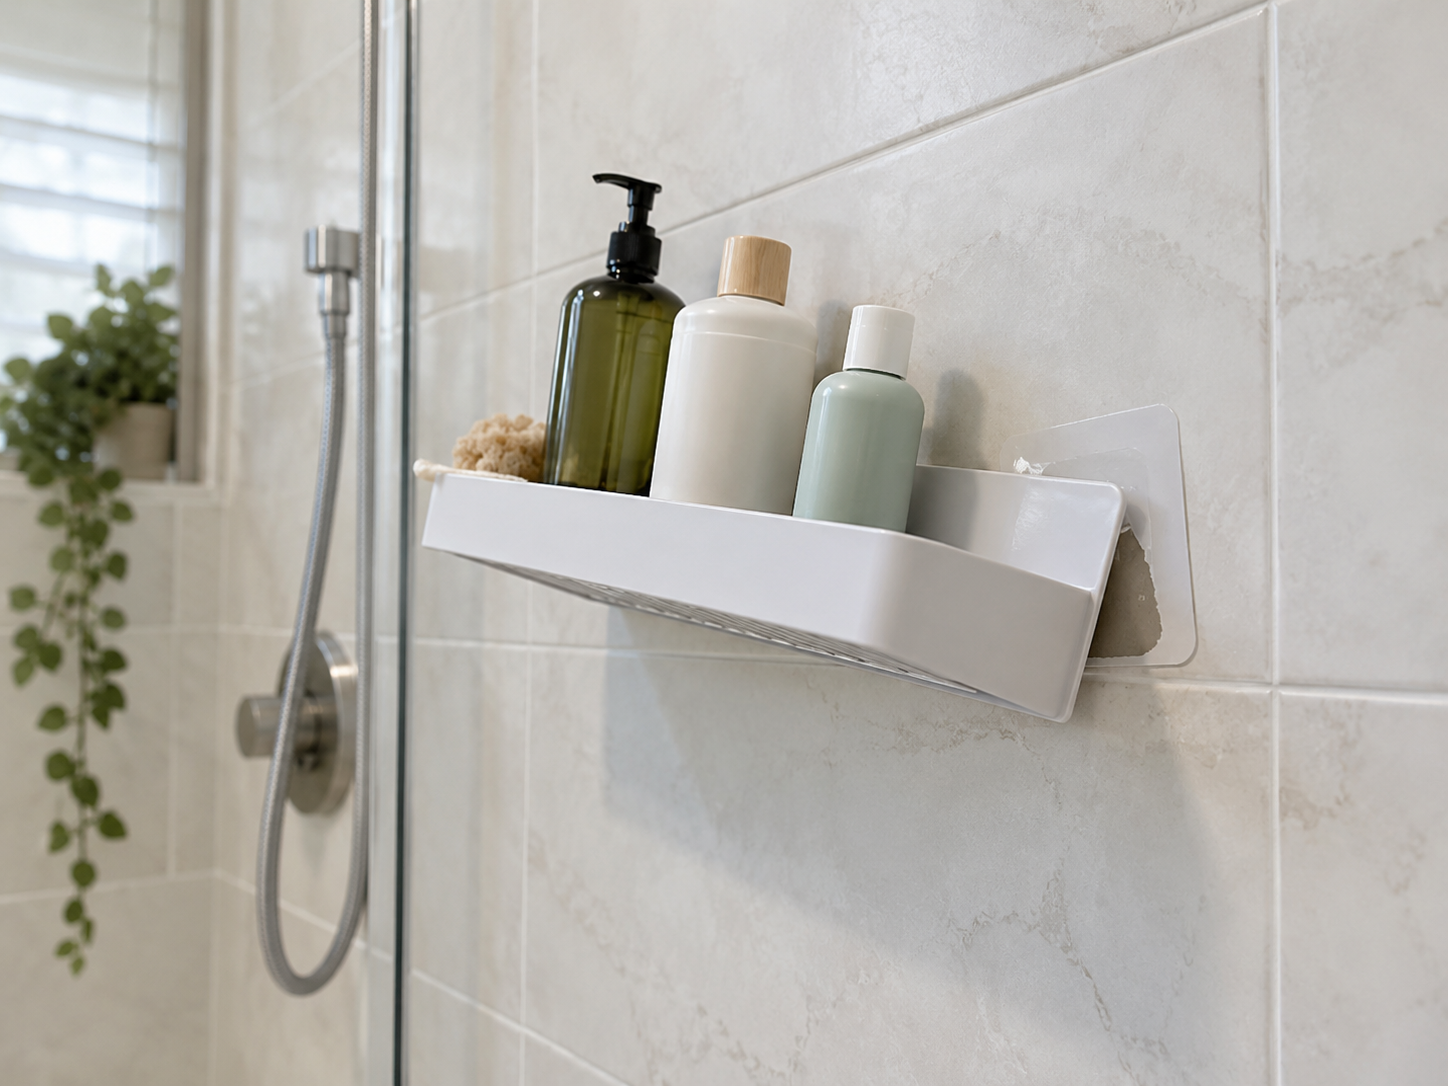
An adhesive shower shelf can seem secure after installation and then suddenly loosen, tilt, or fall. When an adhesive shower shelf keeps falling, the problem is often more complicated than weak adhesive alone.
The mounting surface, cleaning method, bathroom moisture, tile texture, grout placement, installation pressure, curing time, and shelf load can all affect the bond. The adhesive strip or mounting pad may also have deteriorated during an earlier installation attempt.
Before reinstalling the shelf, identify the likely cause. Repeating the same process without correcting the underlying problem can lead to another failure and may increase the risk of marks, residue, or surface damage.
Why an Adhesive Shower Shelf Keeps Falling
Adhesive mounting depends on close, consistent contact between the adhesive and a suitable surface. Anything that interferes with that contact can weaken the installation.
Common problems include soap film, cleaner residue, surface texture, moisture trapped beneath the mounting pad, or a shelf positioned across grout lines. A shelf can also fail when it is loaded before the adhesive has had enough time to set according to the product instructions.
Research by Bowditch on the durability of adhesive joints in the presence of water found that moisture can affect adhesive materials and bonded interfaces. However, this is general adhesion research rather than a test of consumer shower shelves.
Renter precaution: A no-drill shelf is not automatically damage-free. Adhesive performance and removal depend on the product, surface, moisture exposure, installation, loaded weight, and removal method. Check your lease and the product instructions before attaching anything to bathroom tile or another finished surface.
8 Things to Check When an Adhesive Shower Shelf Keeps Falling
1. The Surface Is Not Compatible
Some mounting adhesives are intended for smooth, nonporous surfaces. They may not form reliable contact with textured tile, porous stone, uneven coatings, or deteriorated finishes.
A surface can look smooth from a distance but still contain small ridges, pits, or decorative patterns. These irregularities reduce the area touching the adhesive pad.
Do not assume that a product labeled for bathroom use will work on every bathroom surface. Check its approved-surface guidance before attempting another installation. If the exact surface is not listed, seek clarification from the manufacturer rather than guessing.
If the wall has a noticeably uneven finish, our guide to using an adhesive shower shelf on textured tile explains what to inspect before trying another installation.
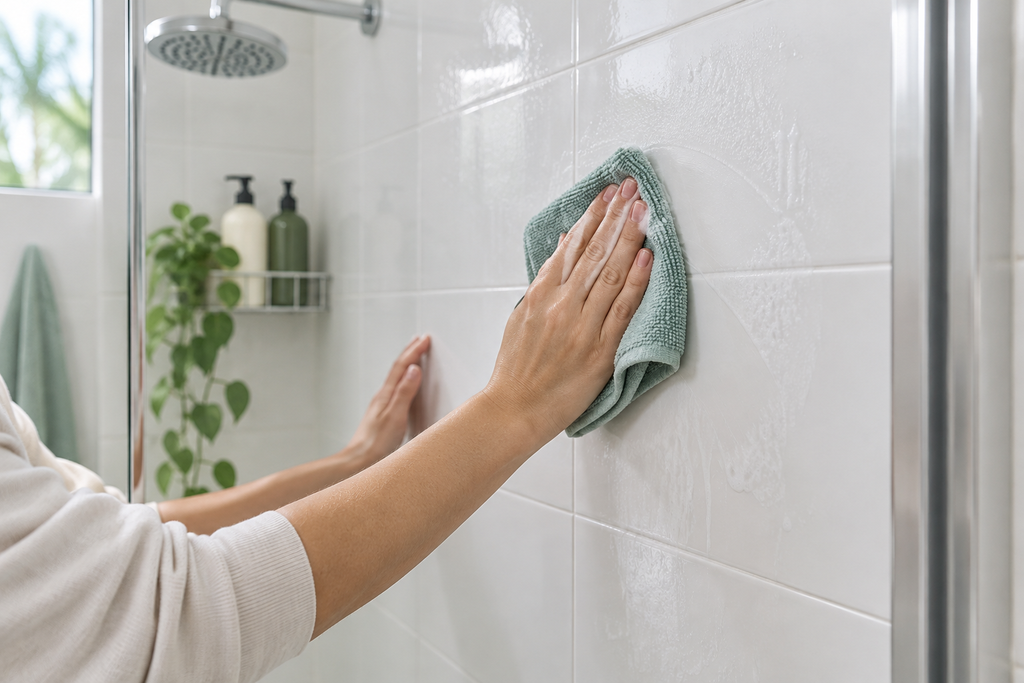
2. Soap Film or Cleaner Residue Remains
Shower walls collect soap film, body-care residue, mineral deposits, and traces of cleaning products. Even when a tile looks clean, a thin layer can remain between the adhesive and the tile.
 Save
SaveSome cleaners also leave a shine-enhancing or water-repellent film. That finish may be useful for cleaning, but it can interfere with mounting contact.
Follow the shelf manufacturer’s surface-preparation directions. Avoid adding cleaning products or solvents that are not recommended for the adhesive or wall finish. A substance that removes residue effectively could still discolor or damage the surface.
3. Moisture Was Trapped Under the Adhesive
Installing a shelf on damp tile can trap moisture beneath the mounting pad. Steam, condensation, and water running down the wall can also reach the edges of the adhesive over time.
Research on adhesive joints shows that water exposure can influence adhesive materials and bonded interfaces, although the degree and mechanism vary by materials and conditions. This is general adhesion evidence rather than a performance test of consumer shower shelves.
If the product requires a dry mounting surface, allow the surface to dry fully before installation. If the product requires a waiting period before exposure to water, follow that period exactly. General advice should never replace the instructions for the specific mounting system.
4. The Shelf Crosses Grout Lines or Uneven Areas
A mounting pad works best when it can make continuous contact with the surface. Grout lines interrupt that contact and can create gaps where moisture or air reaches the adhesive.
This is especially important when placing an adhesive shower shelf over grout lines. Even a shallow grout joint may prevent the entire pad from lying flat.
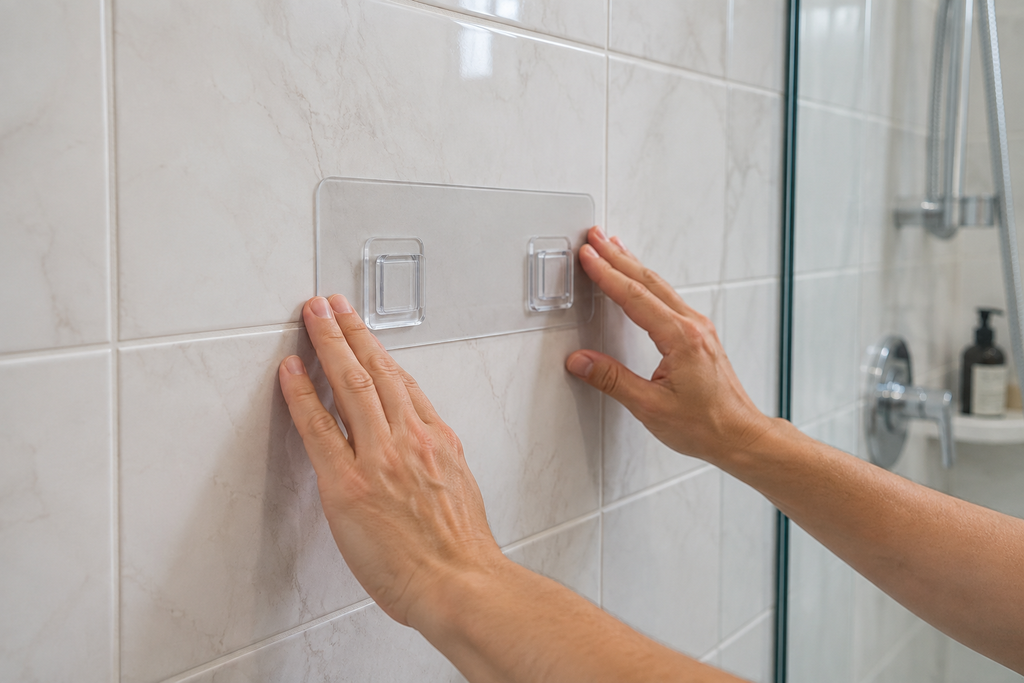
Before mounting, hold the shelf or template against the wall without removing the adhesive backing. Check whether every mounting point fits entirely on flat tile. If the pads cross joints, a different shelf size or location may be more suitable.
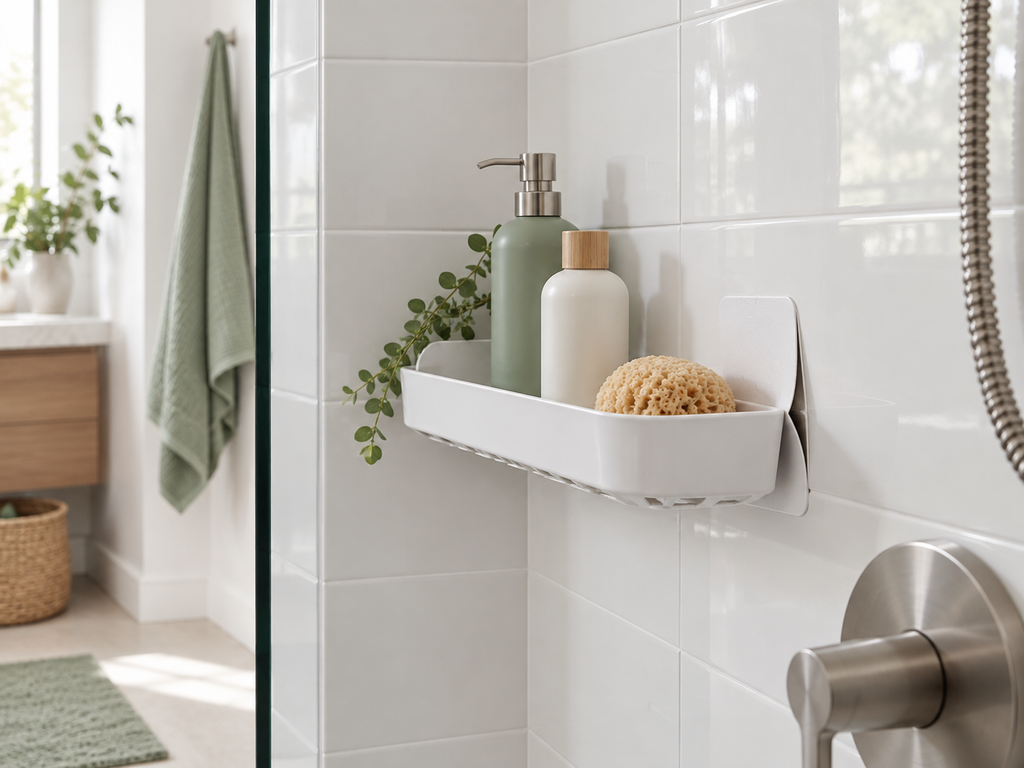
5. The Mounting Pad Did Not Make Complete Contact
Incomplete contact can occur when the pad wrinkles, traps air, sits on a curved surface, or receives uneven pressure during installation.
 Save
SaveA peer-reviewed review by Awaja and colleagues on polymer adhesion explains that bonding depends partly on interactions at the interface between materials. Poor contact reduces the opportunity for that interface to form consistently. The review concerns polymer adhesion generally and does not test consumer shower shelves.
Apply the mounting component only as directed. If the instructions require pressure for a certain duration or in a particular sequence, follow those directions. Do not improvise by heating, clamping, or adding another adhesive unless the manufacturer specifically approves it.
6. The Shelf Was Loaded Too Early
Some adhesive systems require time between mounting the attachment and placing weight on the shelf. Water exposure may also need to be avoided during that period.
A shelf that feels attached immediately may not be ready to support bottles. Loading it early can pull the mounting pad away from the wall before the installation process is complete.
Use the waiting time stated in the instructions for the exact product. Do not substitute a general curing time because adhesive formulations and mounting designs differ.
7. The Shelf Carries Too Much or Unevenly Distributed Weight
Shampoo bottles, pump containers, razors, brushes, and other shower items can add more weight than expected. Force from pressing a pump bottle can place additional stress on the shelf.
Uneven loading matters too. Several heavy bottles placed on one side can cause tilting or peeling at the opposite mounting point.
Follow the stated load limit, but also consider how the shelf is used. Place heavier items near supported areas when the design permits, distribute the load evenly, and avoid pressing pump dispensers while they remain on the shelf unless the product is designed for that use.
Do not treat a published load limit as a guarantee under every surface and bathroom condition. Installation quality, moisture, surface compatibility, and product condition still matter.
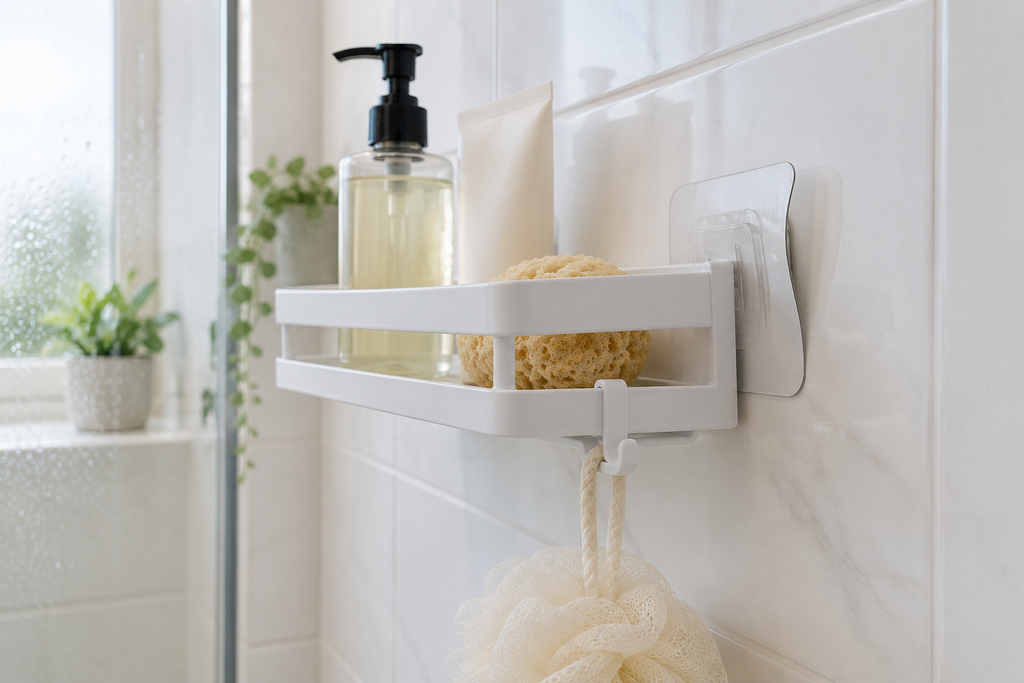
8. The Adhesive or Mounting Parts Are Damaged
An adhesive pad that has already detached may have collected dust, moisture, soap, or skin oils. It may also have stretched, curled, or lost its original shape.
 Save
SaveBrackets can bend, locking parts can loosen, and plastic mounting components can crack. Reattaching damaged parts may create an unstable installation even if the wall is properly prepared.
Inspect every component before reinstalling. Use only replacement mounting parts approved for the exact shelf. Avoid adding household glue, construction adhesive, or an unrelated adhesive strip, since the shelf was not necessarily designed or rated for that combination.
Step-by-Step Troubleshooting Before Reinstalling
 Save
Save- Remove the shelf contents. Take bottles and accessories off before handling a loose shelf.
- Support the shelf during removal. Do not let it hang from one remaining mounting point.
- Follow the removal instructions. Use the method provided for the exact adhesive system. Pulling directly away from the wall may damage the finish.
- Inspect the mounting parts. Look for stretched adhesive, bent brackets, cracks, corrosion, or pieces that no longer lock securely.
- Examine the wall surface. Check for loose glaze, damaged grout, flaking coating, residue, texture, or moisture.
- Confirm surface compatibility. Compare the actual surface with the manufacturer’s approved-surface guidance.
- Check the shelf location. Make sure mounting pads can sit fully on flat areas without crossing grout lines or edges.
- Prepare the surface as directed. Use only cleaning and drying methods suitable for both the mounting system and the wall material.
- Use approved replacement components. Do not reuse a single-use adhesive pad unless its manufacturer expressly permits reuse.
- Reinstall and observe the required waiting period. Keep the shelf unloaded and, when directed, away from water during that time.
- Load the shelf gradually. Add a few lightweight items first and watch for movement, peeling edges, or tilting. Stay within all stated limits.
If the shelf begins separating again, remove the load promptly. Repeated failure suggests that the surface, location, mounting system, or shelf design may be unsuitable.
Surface Problems That Can Affect Adhesive Shelves
Smooth glazed tile: This may provide a relatively even mounting area, but it still needs to be compatible with the specific adhesive. Soap film, mineral deposits, moisture, and cleaner residue can prevent reliable contact.
Textured tile: Raised patterns and rough finishes reduce full-surface contact. An adhesive pad may touch only the highest points rather than the entire tile.
Grout: Grout lines create interruptions and may be recessed, uneven, porous, cracked, or damp. Avoid placing a mounting pad across grout unless the manufacturer explicitly allows it.
Stone or porous surfaces: Natural stone and other porous materials can absorb moisture or cleaning substances. Some may also stain or react poorly to adhesives and removers. Check the surface-care guidance and mounting instructions before use.
Painted or coated surfaces: Adhesive may bond more strongly to the coating than the coating bonds to the wall beneath it. Removal could lift paint or finish layers, especially if they are old, damp, or poorly adhered.
Acrylic or fiberglass surrounds: These surfaces can curve, flex, scratch, or react differently to cleaners and adhesives. Do not assume guidance for ceramic tile also applies to a shower surround. Verify compatibility with both the shelf manufacturer and the surface-care instructions.
What Not to Do
- Do not reinstall a shelf over soap film, cleaner residue, or a damp surface.
- Do not place mounting pads partly over grout lines unless the product instructions permit it.
- Do not reuse damaged or contaminated single-use adhesive parts.
- Do not exceed the stated load limit.
- Do not concentrate all heavy bottles on one side.
- Do not load the shelf before the required waiting period ends.
- Do not overtighten, force, heat, cut, or alter mounting components.
- Do not add unapproved glue, tape, or construction adhesive.
- Do not use a harsh solvent without confirming that it is safe for the tile, grout, coating, and adhesive system.
- Do not keep reinstalling the same shelf if it repeatedly loosens.
- Do not mount above a place where a falling shelf could injure someone or damage a fixture.
When to Stop Reinstalling the Shelf
One failed installation does not always mean the shelf can never work. The cause may be a replaceable mounting pad, incomplete cleaning, poor placement, or loading before the specified waiting period ended.
Repeated failure deserves a different response. Stop reinstalling when:
- The wall is textured, porous, curved, loose, or outside the approved surface list.
- The mounting pad cannot fit without crossing grout.
- Moisture continues to collect behind the mounting area.
- The shelf or bracket is cracked, bent, corroded, or incomplete.
- Approved replacement mounting parts are unavailable.
- The shelf cannot hold the required items within its stated limits.
- Removal has already left marks or affected the finish.
- The lease restricts adhesive attachments.
- The shelf would create a safety risk if it fell.
A different storage method may be more practical than repeating an unsuitable installation.
Should You Switch to Suction or Another No-Drill Option?
Suction organizers can work on compatible smooth, nonporous surfaces, but they are also surface-dependent. Texture, grout, contamination, moisture, product condition, and load can affect their grip. They are not a universal solution for an adhesive shelf that keeps falling.
For a fuller comparison, see adhesive vs suction shower shelves.
A tension caddy, shower-head caddy, freestanding cart, over-the-door organizer, or under-sink system may avoid attaching storage to the shower wall. Each option has its own fit, clearance, stability, weight, and rental-damage considerations.
If the shower surface is unsuitable for attachment, a broader guide to bathroom storage without drilling can help identify alternatives.
Removing Failed Adhesive Safely
Start with the removal directions for the exact shelf and adhesive system. Different products may use tabs, release mechanisms, stretching motions, or other procedures.
Unload and support the shelf before releasing any mounting point. Work slowly so the shelf does not twist, fall, or place sudden force on the wall.
Do not scrape the surface with a metal tool or apply heat, oil, alcohol, or another solvent unless the relevant instructions confirm that the method is safe. Tile, grout, sealants, painted finishes, acrylic, fiberglass, and natural stone do not all respond the same way.
Test any approved residue-removal method in an inconspicuous area when appropriate. Stop if you notice discoloration, softening, scratching, lifting finish, or grout deterioration.
For a detailed process, see how to remove an adhesive shower shelf.
Frequently Asked Questions
Why does my adhesive shower shelf keep falling off?
Likely causes include an incompatible or uneven surface, soap film, cleaner residue, trapped moisture, incomplete mounting contact, installation across grout, early loading, excess weight, or damaged adhesive components.
Check each possibility against the instructions for the exact shelf. Avoid assuming that another adhesive strip or a stronger glue will correct an incompatible surface.
Can I reuse the adhesive after the shelf falls?
Do not reuse it unless the manufacturer specifically states that the mounting component is reusable. A fallen pad may be stretched, contaminated, wet, or damaged even when it appears intact.
Use an approved replacement designed for the exact shelf when one is available.
Will cleaning the tile make the adhesive stick again?
Proper cleaning may help when residue caused the failure, but cleaning cannot correct every problem. The tile may be textured, porous, curved, damaged, or incompatible with the adhesive.
Follow the specified preparation method and allow the surface to dry as directed. Avoid unapproved cleaners that leave residue or affect the finish.
Can I put an adhesive shower shelf over grout lines?
It is usually better to place the entire mounting pad on a flat, continuous surface unless the product instructions expressly allow installation over grout.
Grout lines can reduce contact and create channels or gaps around the pad. Measure the tile area and mounting-pad spacing before installation.
How long should I wait before loading an adhesive shower shelf?
Use the waiting period stated by the manufacturer for that exact product. There is no single reliable waiting time for every adhesive shelf because mounting materials and installation systems differ.
Also follow any instructions about water exposure during the waiting period.
How much weight can an adhesive shower shelf hold?
Check the shelf’s current manufacturer documentation. Do not estimate a limit from the shelf’s size or from similar-looking products.
A stated limit does not remove the need for compatible surfaces, correct installation, balanced loading, suitable environmental conditions, and undamaged parts.
What should I use if adhesive will not stick to my shower tile?
Consider a tension caddy, shower-head organizer, suitable suction system, freestanding unit, rolling cart, or storage outside the shower. The right choice depends on available space, surface compatibility, clearance, stability, moisture, and the items you need to store.
Final Thoughts
When an adhesive shower shelf keeps falling, inspect the complete installation rather than focusing only on the adhesive. Surface compatibility, residue, moisture, grout placement, mounting contact, waiting time, weight distribution, and component condition can all contribute to failure.
Use the instructions for the exact product when deciding how to prepare the surface, how long to wait, how much weight to add, and how to remove or replace the mounting parts. If the shelf repeatedly fails or the surface appears unsuitable, stop reinstalling it and choose a storage method that better fits the bathroom.
A renter-friendly solution should be practical to use, stable under its expected load, and appropriate for both the surface and the lease.