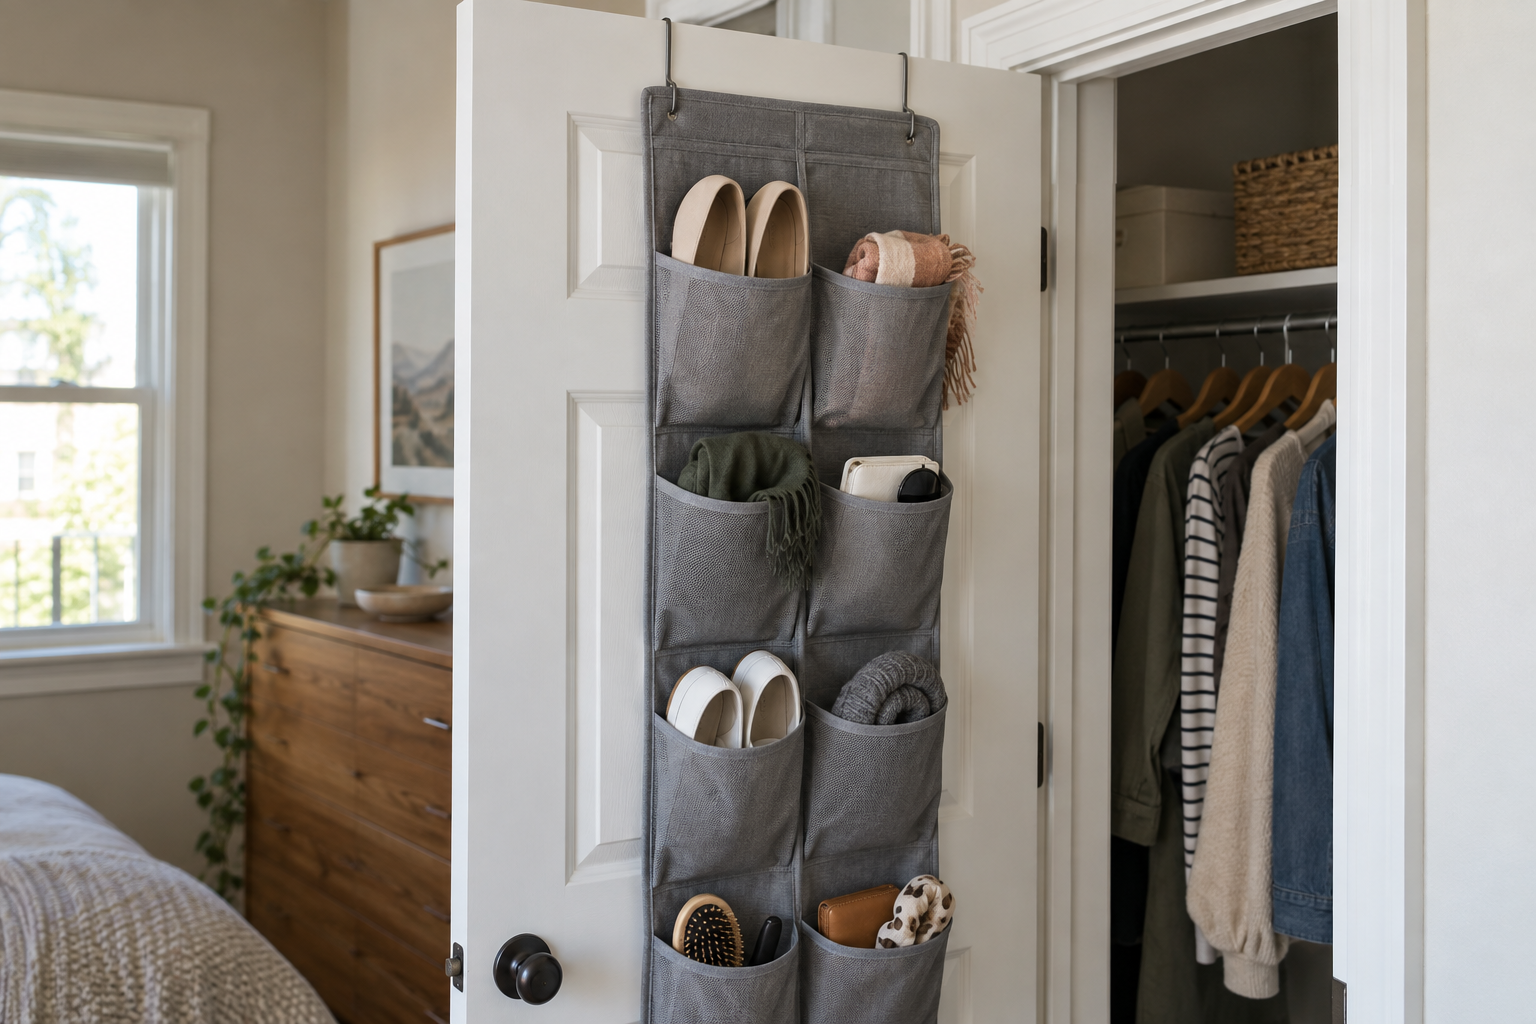
Over-the-door closet storage can give shoes, scarves, hats, bags, and lightweight accessories a home without drilling. Before buying, check more than the organizer’s dimensions: door thickness, the top gap, frame, handle, swing path, and surrounding space all affect whether it will work.
A slim organizer can still catch the frame or press against hanging clothes. Measuring first helps you avoid a poor fit while keeping the closet easy to open, close, and use.
What Is Over-the-Door Closet Storage?
An over-the-door organizer hangs from or fits over the top edge of a compatible door. Designs may include pockets, baskets, hooks, rails, or shelving, using door area instead of floor space or closet-rod width.
It does not create new structural capacity. The organizer and its contents add load to the door and hardware. Exact compatibility depends on both the organizer and the door, including the attachment requirements.
Over-the-door closet storage can use pockets, baskets, hooks, rails, or shelves to make use of otherwise unused door space.
Will an Over-the-Door Organizer Fit Your Closet Door?
Start with the door type and the side where storage would hang. Check thickness, clearance above the door, and the space between the door and frame. Note hinges, raised panels, trim, and the handle or knob.
Then follow the door’s full movement. An inward-opening door may bring pockets against clothes or shelves; an outward-opening one may approach furniture or a nearby wall. Include organizer depth and lower clearance. The door should still open, close, and latch normally after installation.
7 Measurements to Take Before Buying Over-the-Door Closet Storage
Record these measurements in one unit and keep a simple sketch showing obstacles. Compare usable space with the exact organizer’s official dimensions and installation instructions, including its hooks or brackets.
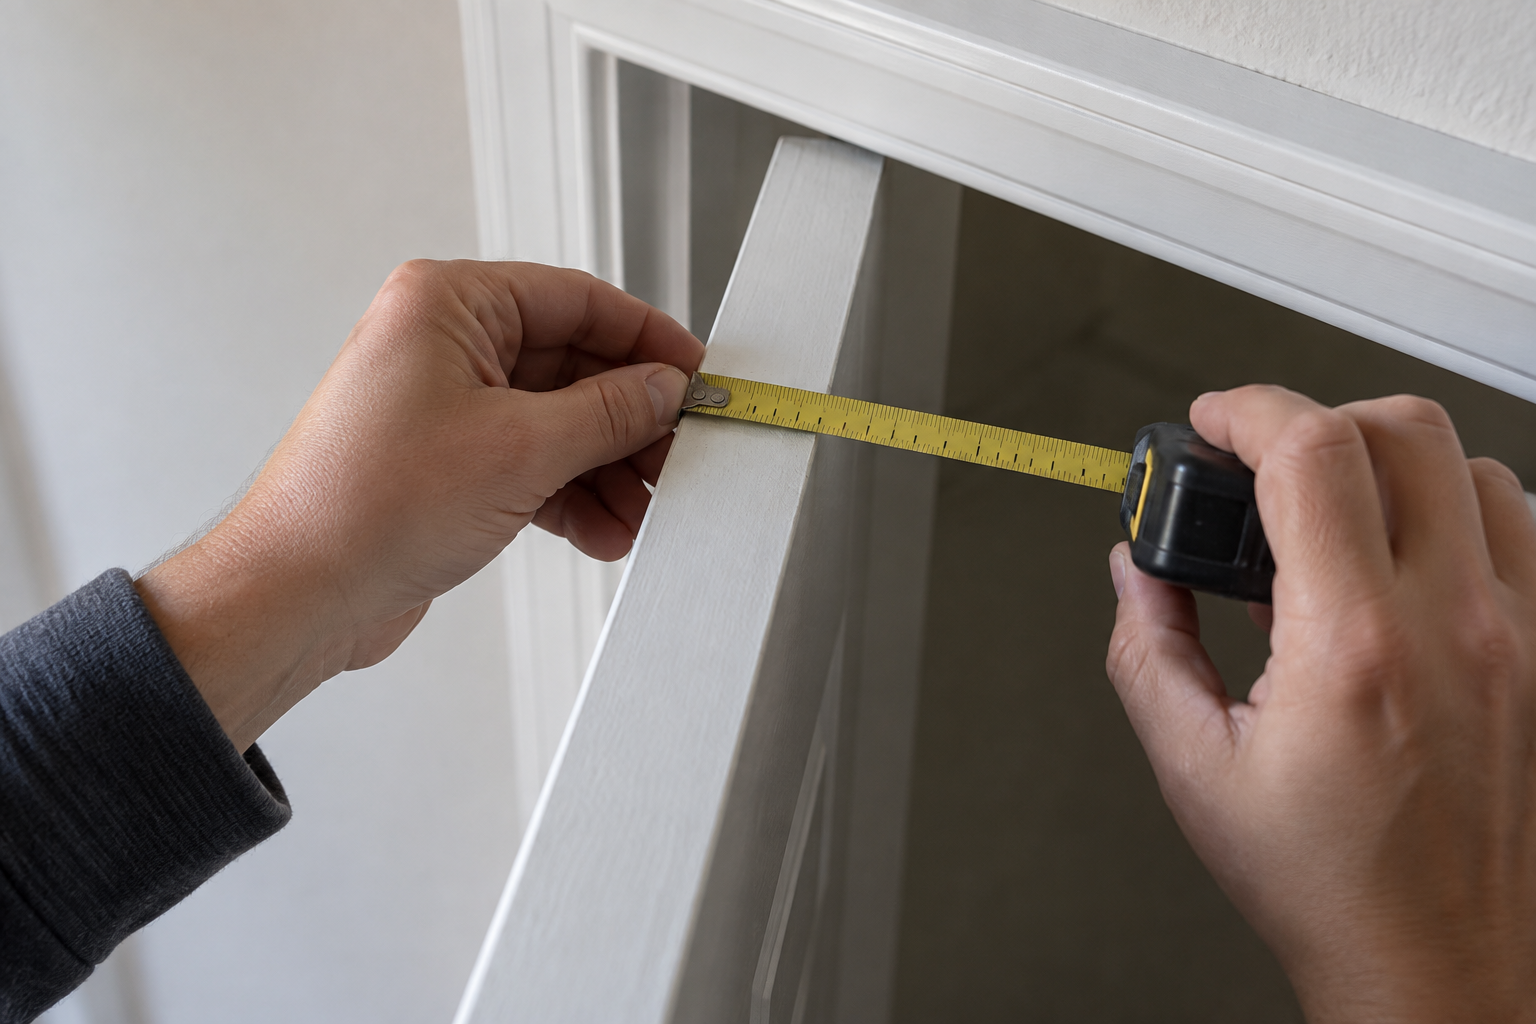
1. Door Thickness
Measure across the door edge where the hooks will sit. Compare that thickness with the specified hook opening and any required pads. A bracket that is too tight or loose is not a suitable fit merely because you can push it into place.
 Save
Save2. Top-of-Door Clearance
Check the gap above the closed door at each proposed hook position. Compare it with the manufacturer’s required clearance. Also inspect the upper frame and door stop: a hook can clear one surface and catch another during closing. Do not force the door shut to test fit.
3. Usable Door Width
Measure the clear width available for the organizer, excluding handle space, hinge interference, and trim. Check its widest part, including baskets or side hooks. A narrow fabric backing does not tell you how far the loaded contents will extend sideways.
4. Organizer Height and Vertical Clearance
Measure down from the intended hanging point to the lowest usable position. Confirm whether the listed height includes the hooks. Account for shelves, shoe racks, laundry baskets, and other closet storage below, leaving room to retrieve items from the bottom pockets.
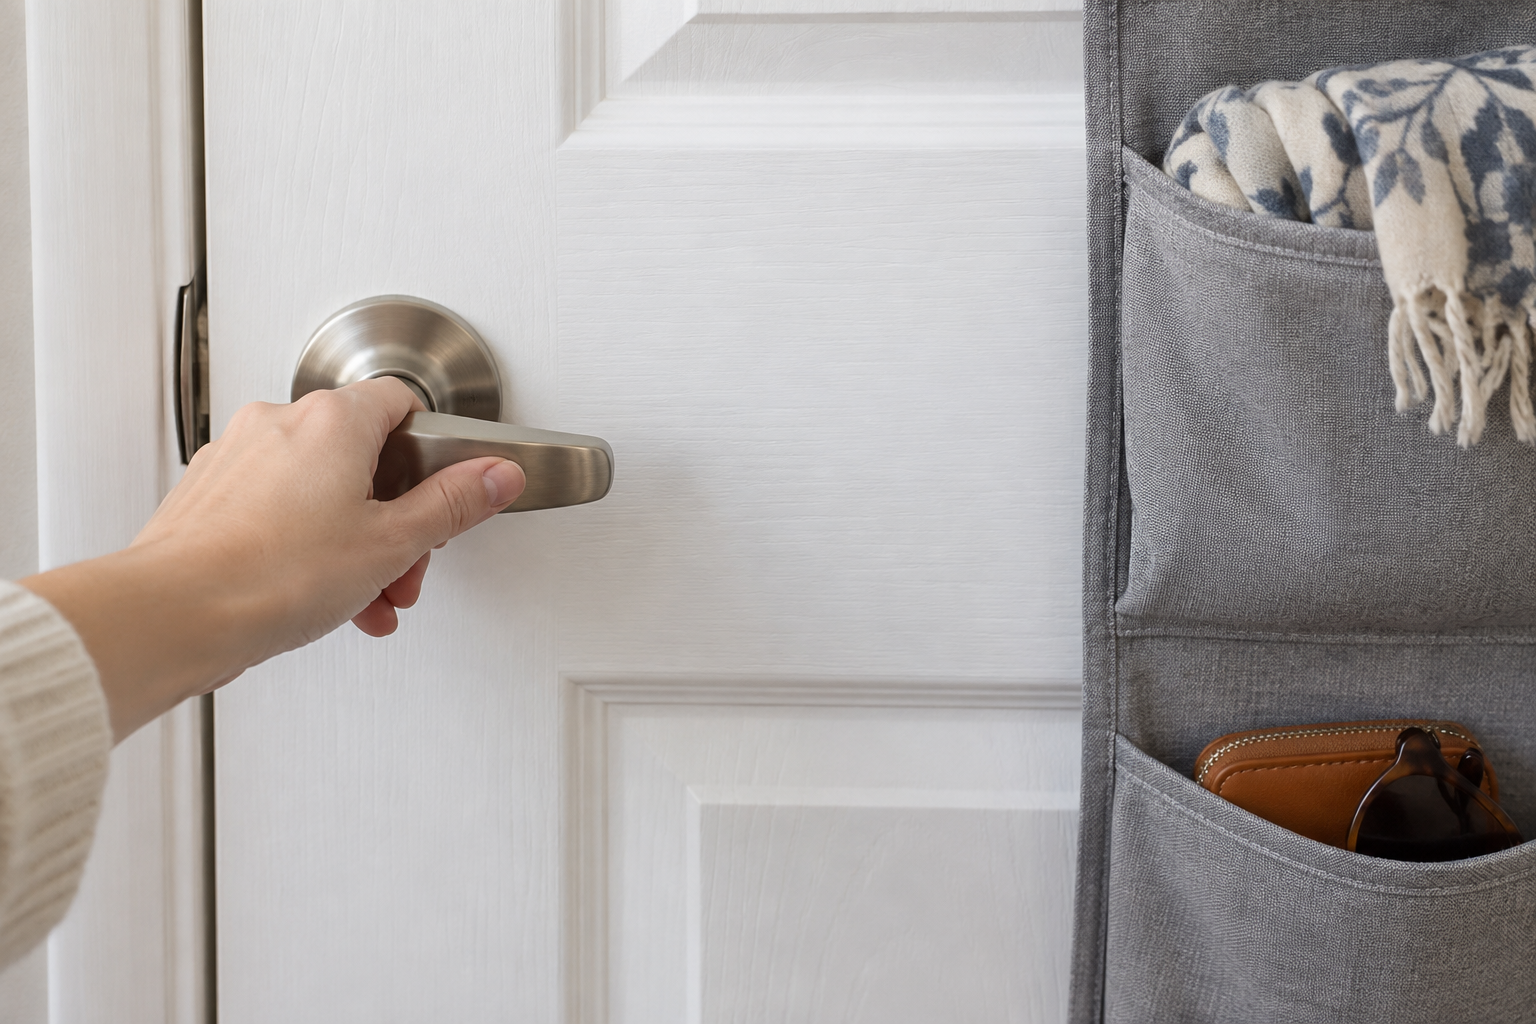
5. Door Handle or Knob Clearance
Measure the space between the planned organizer edge and the handle or knob. Leave room for your hand and the handle’s full movement. Include nearby loaded pockets, bag straps, and anything that could fall across the hardware.
 Save
Save6. Door Swing and Nearby Wall Clearance
Open the door through its usual range and check the closest approach to walls, shelving, furniture, and other doors. Measure outward from the organizer side of the door where obstacles are nearest. Available depth can change throughout the swing, not just at the fully open position.
7. Floor, Baseboard, and Lower-Clearance Space
Check the bottom of the proposed organizer against the floor and baseboard throughout door movement. Include items projecting from lower pockets. A unit that hangs above the floor when still may brush a shoe rack, raised threshold, or nearby baseboard as the door moves.
How to Measure a Closet Door Step by Step
- Open and close the closet door normally; note existing rubbing or sticking.
- Identify the side where the organizer would hang.
- Measure door thickness at the intended hook positions.
- Measure top-of-door clearance and inspect the surrounding frame.
- Measure usable door width, accounting for obstacles.
- Measure usable vertical space from the hanging point.
- Check handle or knob clearance, including room for your hand.
- Open the door fully and assess the entire swing path.
- Check nearby walls, shelves, furniture, and other doors.
- Check floor and baseboard clearance along that path.
- Compare all measurements with exact organizer specifications and attachment instructions.
- After installation, test normal door movement before loading the organizer.
Renter warning: An organizer can fit the door itself and still prevent the door from closing properly. Check the top gap, frame clearance, handle, and swing path before adding contents.
Which Closet Doors Work Best With Over-the-Door Organizers?
Standard hinged closet doors: Many organizers are designed around conventional hinged doors. Still check thickness, frame clearance, construction, hardware condition, and the exact product instructions.
Bifold closet doors: Folding panels change the available space as they move. Check the fold, track, adjacent panel, and attachment locations against explicit compatibility guidance.
Sliding closet doors: Panels may pass close together. Added hooks or pockets can interfere with overlap and travel, so verify the exact installation and clearance requirements.
Pocket doors: The door moves into a wall cavity. Any added projection needs particular scrutiny; do not assume an organizer can travel into that space. Check documented compatibility.
What Can You Store in an Over-the-Door Closet Organizer?
Choose contents around intended use, compartment dimensions, and documented limits. Possible categories include:
- Shoes, where the organizer is intended for them.
- Scarves, hats, and belts.
- Lightweight handbags and small accessories.
- Folded lightweight items.
- Small lightweight bins, where compatible and easy to remove.
Very heavy objects, leaking liquids, exposed sharp objects, and unstable items are less appropriate. Avoid anything outside the instructions or anything that prevents normal door operation. An empty pocket is not a reason to keep adding weight.
How Organizer Depth Changes Door Clearance
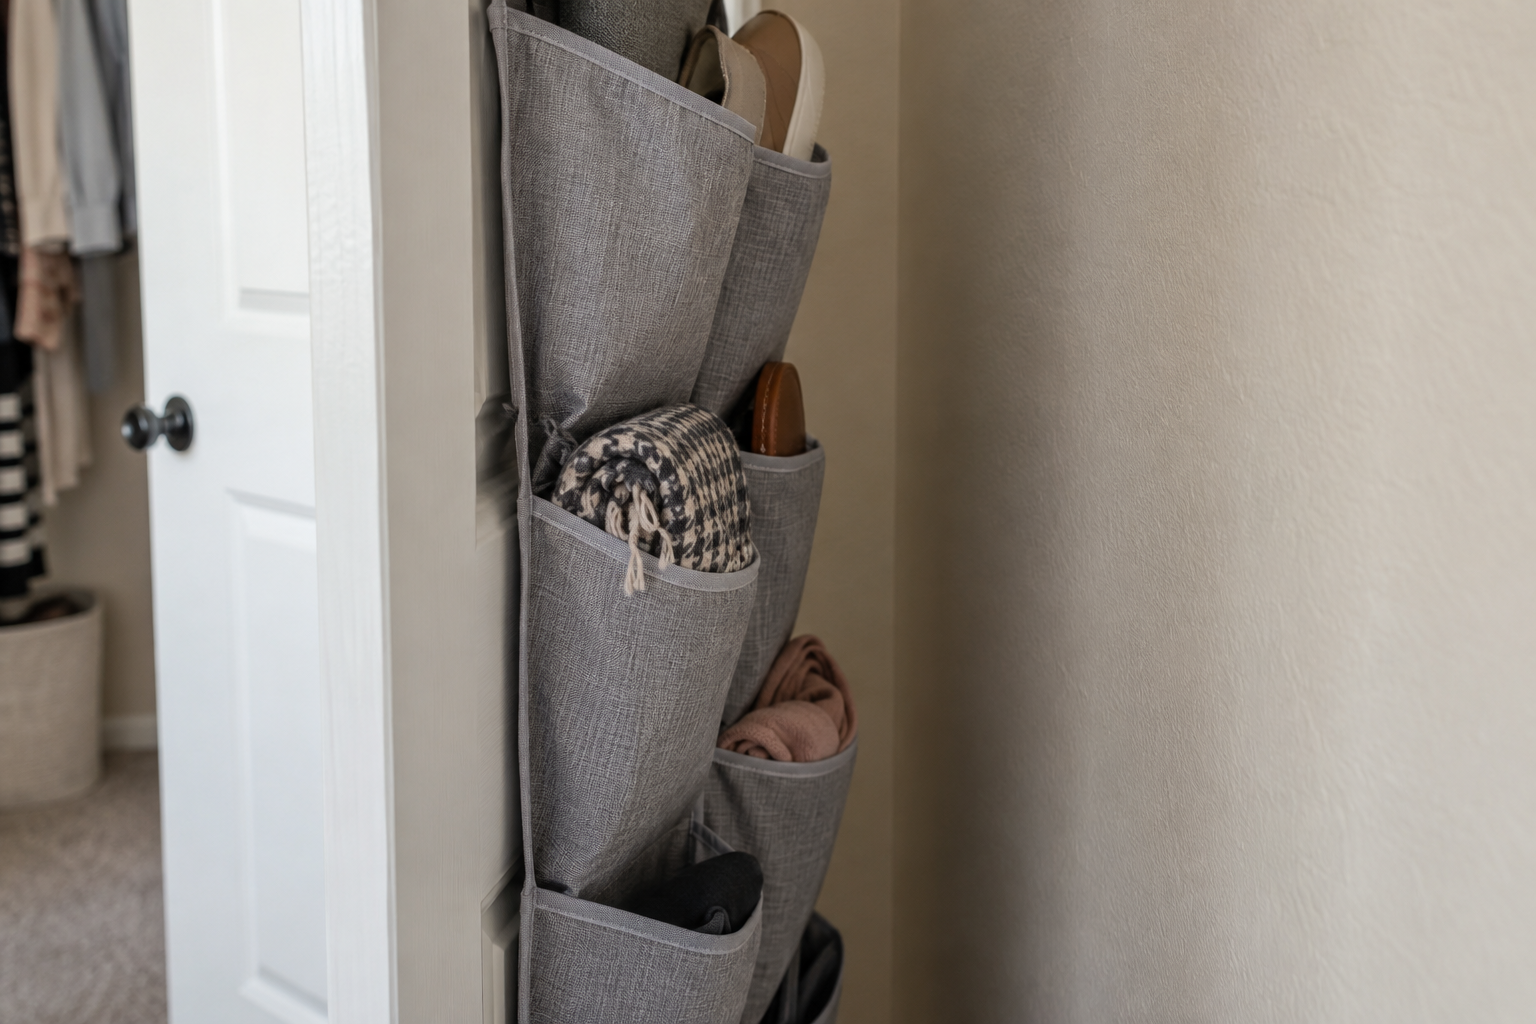
Empty depth may differ from loaded depth. Shoes, handbags, baskets, and bulky contents project outward, so use your intended belongings when assessing how much space the organizer will occupy.
 Save
SaveLoaded pockets can reduce clearance from walls, hanging garments, or shelving. Contents may shift as the door opens and closes, and straps can extend beyond the organizer’s outline. After the empty movement check, add suitable contents gradually within the instructions and check movement again.
Over-the-Door Organizer vs Hanging Closet Organizer
An over-the-door organizer uses door area and preserves rod width, but may affect door movement and depends on door-and-frame clearance. It can be useful when accessories need a place and hanging space is already occupied.
A hanging closet organizer uses the closet rod and preserves door area. It reduces hanging width and adds load to the rod. Choose according to available space, existing supports, and what you need to store; neither approach wins for every closet.
Common Over-the-Door Closet Storage Mistakes
- Buying before measuring the door.
- Ignoring door thickness.
- Forgetting top-of-door clearance.
- Assuming the door will still close.
- Blocking the handle or knob.
- Ignoring the door swing.
- Choosing an organizer that is too wide.
- Letting the organizer touch the floor.
- Overfilling pockets or baskets.
- Ignoring nearby walls or shelving.
- Assuming empty and loaded organizer depth are the same.
- Using a door type not covered by product instructions.
- Assuming reversible means damage-free.
Is Over-the-Door Closet Storage Good for Renters?
Used as designed, a compatible no-drill organizer is reversible, uses otherwise unused door area, and preserves floor space. It can also preserve closet-rod space while keeping accessories and smaller belongings accessible. For other approaches, explore closet storage without drilling.
The limitations matter: storage may interfere with closing or handle use, move or make noise, and add load to the door and hardware. Not every organizer fits every door. Follow rental restrictions and check contact points during use; reversible installation does not guarantee damage-free removal.
Frequently Asked Questions
Will an over-the-door organizer stop my closet door from closing?
It can if the hooks, frame, or loaded organizer interfere. Check clearances first, then test the installed organizer empty without forcing the door.
How do I know if an over-the-door organizer will fit my door?
Compare all seven measurements with official specifications and installation instructions. Check hook fit and loaded depth as well as the organizer’s overall width and height.
Can I use an over-the-door organizer on a bifold closet door?
Only if the exact product supports that installation and allows normal folding and track movement. A fit on one panel alone does not establish compatibility.
Can I use an over-the-door organizer on a sliding closet door?
Check the product instructions and the clearance between moving panels. Hooks and contents must not obstruct the track, overlap, or normal travel.
Will an over-the-door organizer damage a rental door?
Damage is possible from unsuitable fit, rubbing, movement, or loading. Follow the instructions and inspect contact points. No organizer can guarantee damage-free use on every finish.
How much weight can an over-the-door closet organizer hold?
Use the exact manufacturer’s documented limits, including compartment limits. The door and hardware must also be suitable; an organizer rating does not establish the door’s capacity.
Can I use over-the-door storage for shoes?
Yes, where the organizer is intended for shoes and the fit and load are suitable. Check pocket size and how far heels or toes project.
What if the organizer hits the wall when I open the door?
Remove the interference by reconsidering the organizer, contents, or location within its instructions. Choose another storage approach if normal door movement cannot be preserved.
Can I put an organizer on the inside of a closet door?
Potentially, if the instructions permit it and there is room. Check clearance from clothes, shelving, and floor storage with the door open and closed.
Do I need to measure the top gap before buying?
Yes. Compare the gap at the hook positions with the exact product requirements, and check the frame surfaces that the hooks pass during closing.
Final Thoughts
Measure before buying over-the-door closet storage. Check door thickness and top clearance, usable width and height, handle access, and the full swing path. Remember the depth of loaded pockets and clearance near the floor.
Compare your measurements with the exact product instructions, then check normal door operation before and after adding suitable contents. Useful closet storage should make belongings easier to reach while keeping the door working normally.
The best over-the-door closet storage setup is one that fits the door correctly, preserves normal movement, and matches what you actually need to store.
1 thought on “Over-the-Door Closet Storage: What to Measure Before Buying”
Comments are closed.