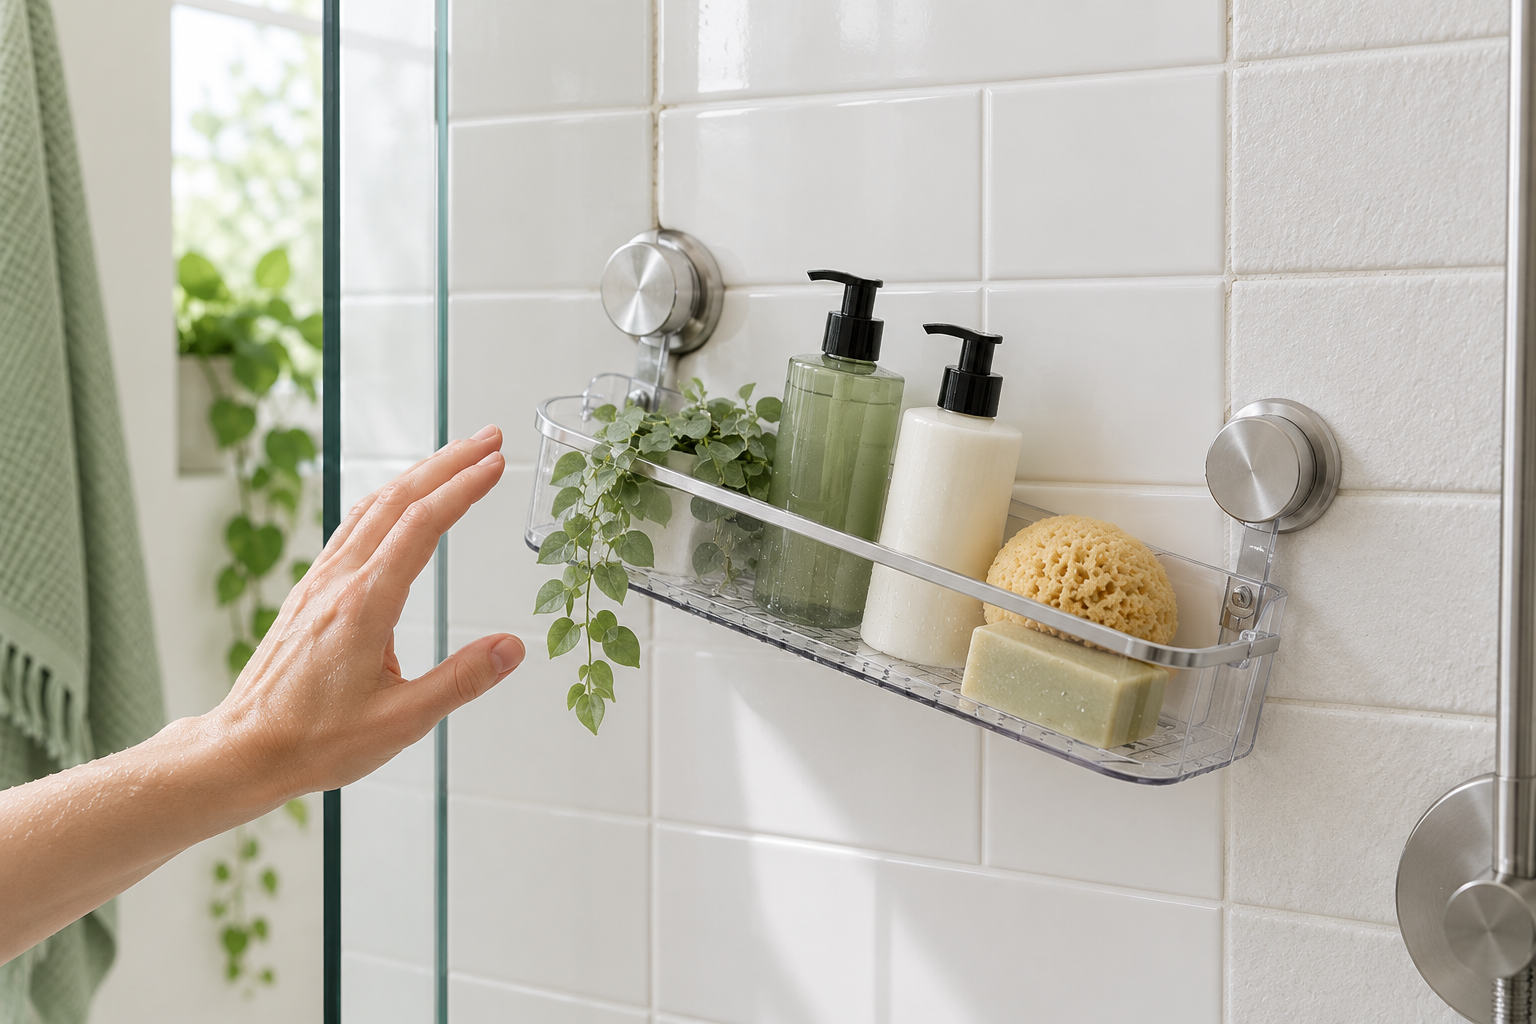
A suction cup shower shelf usually falls because it cannot maintain an airtight seal against the wall. The cause may be the mounting surface, residue, trapped moisture, incomplete installation, excess weight, or a worn suction mechanism.
A shelf that attaches securely at first can still release later. Soap film, mineral deposits, temperature changes, movement, and gradual air entry can weaken the seal.
If your suction cup shower shelf keeps falling, unload it before troubleshooting. Do not place it back into service until you understand the likely cause and can confirm that it remains stable within the manufacturer’s stated limits.
Why a Suction Cup Shower Shelf Keeps Falling
Suction systems work by removing or reducing the air between the suction cup and a compatible surface. Outside air pressure helps hold the cup in place. If air works its way underneath the cup, the seal weakens.
Even a small surface interruption can matter. Texture, grout lines, cracks, mineral deposits, and cleaner residue may create a path for air to enter.
The shelf itself also affects performance. Some models attach with a simple press, while others use levers, pumps, locking covers, or separate mounting plates. Installation steps and suitable surfaces vary by product.
Repeated falling is a warning that something is wrong. It is not a reason to add more weight, press the shelf back onto the same unsuitable spot, or use it for anything hazardous.
8 Things to Check When a Suction Shower Shelf Will Not Stay Up
1. The Surface Is Too Textured
Smooth, flat, nonporous surfaces are generally the best candidates for suction storage because they give the cup an even area to seal against.
Textured tile can leave microscopic gaps beneath the cup. A surface may feel mostly smooth to your hand but still have enough variation to admit air.
Grout is another interruption. It is typically lower, rougher, or more porous than the tile face, so a cup that overlaps a grout line may not seal completely.
Natural stone can be porous, textured, sealed, or treated in different ways. Do not assume it is compatible. Follow the shelf manufacturer’s approved-surface list and the stone supplier’s care guidance.
Suction cups work by creating a lower-pressure area between the cup and the mounting surface. A smooth, uninterrupted surface helps maintain that seal, while gaps, roughness, or surface irregularities can allow air underneath and weaken the attachment. Purdue University’s physics demonstration provides a useful explanation of how suction cups rely on air pressure and a smooth contact surface.
2. The Surface Is Not Completely Clean
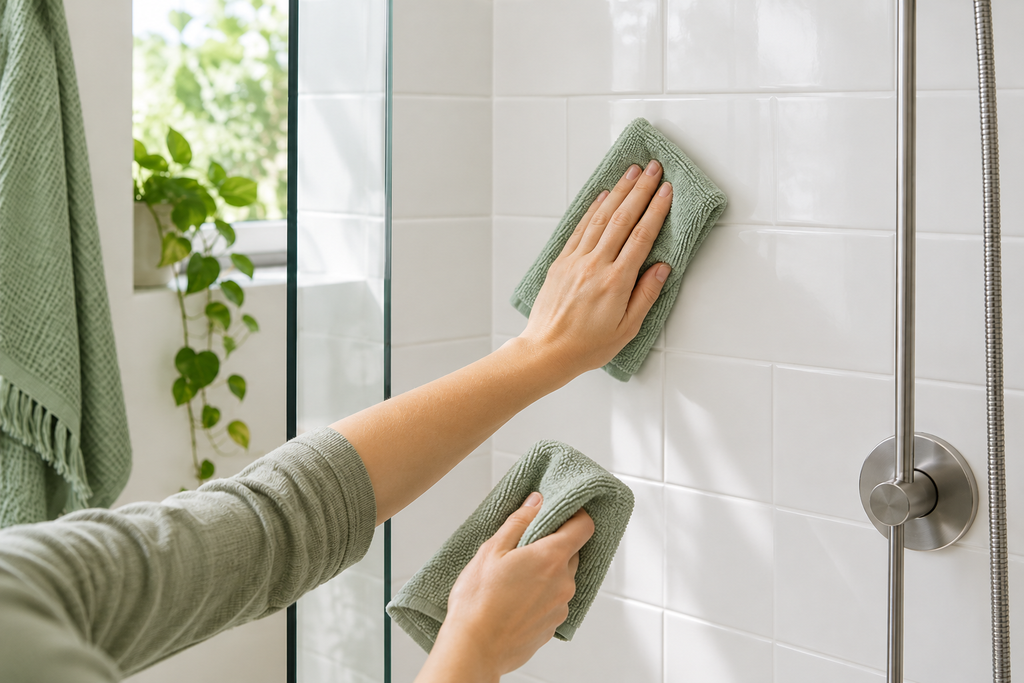
Soap residue, body-care oils, hard-water deposits, and cleaning-product films can prevent close contact between the cup and wall.
A recently cleaned surface is not necessarily residue-free. Some cleaners leave fragrance, polish, or other ingredients behind. Using a different chemical without checking compatibility may create another film or affect the finish.
Clean both the mounting area and suction components according to the product instructions. Also follow the surface manufacturer’s care guidance, especially for coated glass, natural stone, and acrylic or fiberglass surrounds.
Do not mix cleaning products. Rinse or dry only as directed, and keep lint, hair, and dust away from the cup while reinstalling it.
 Save
Save3. Moisture Is Trapped Under the Suction Cup
Installation conditions vary. Some suction products must be fitted to a clean, dry surface; another manufacturer may specify a different preparation method.
Do not assume wetting a suction cup will improve its grip. Water beneath a product designed for dry installation can interfere with the seal or allow movement.
Conversely, do not add powders, oils, petroleum jelly, or other substances unless the manufacturer expressly recommends them for that model and surface.
Remove the shelf, inspect it, and repeat the exact preparation process in its instructions. If the directions require drying, allow the cup, mounting area, grout edges, and your hands to dry fully before proceeding.
4. The Suction Cup Is Not Fully Sealed
A cup may look attached even when air remains beneath part of its edge. Uneven pressure, a tilted mounting plate, or a small obstruction can prevent complete engagement.
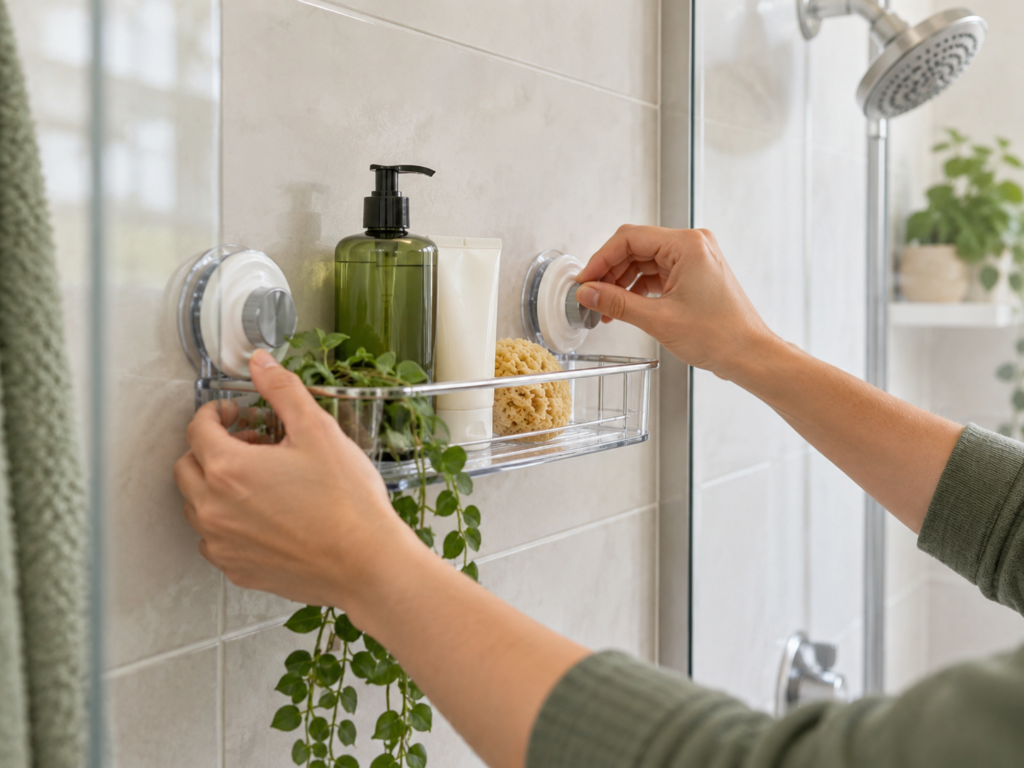
Position the cup flat against the approved surface. Follow the specified sequence for pressing, turning, pumping, or locking the mechanism. If a shelf uses multiple cups, make sure all of them engage as directed without twisting the frame.
Some systems provide a visible or tactile indication that the lock is engaged. Others require a particular mounting motion. Do not improvise based on how another suction product works.
After installation, test the empty shelf in the manner the manufacturer specifies. Never pull on it with your body weight or treat it as a grab bar.
 Save
Save5. The Shelf Is Carrying Too Much Weight
Full shampoo, conditioner, and body-wash bottles can create a substantial combined load. Pumping a dispenser while it sits on the shelf may add a brief downward force beyond the container’s weight.
Check the stated load limit for the exact shelf. Do not rely on a limit quoted for another size or product in the same collection.
Count the shelf’s own components where the instructions require it, and consider the products at their fullest. Keep the load comfortably within the stated limit instead of using the maximum as a target.
Distribute items evenly. If the design permits, place heavier containers on lower shelves, where a fall may involve less distance. Do not store glass, sharp, hazardous, or valuable items where attachment failure could cause injury or damage.
6. The Shelf Is Mounted Across a Grout Line
A suction cup needs continuous contact around its sealing edge. A grout line or transition between materials can create a channel that lets air enter.
Position every cup entirely on a compatible tile face or other approved surface. Check the full circumference, not just the cup’s center.
Large-format tile may offer enough uninterrupted space, while smaller tile can make positioning difficult. If the suction cups cannot fit between grout lines, the product may not suit that wall.
Do not try to fill the grout line with a random adhesive, caulk, or improvised gasket. That changes the mounting system and may introduce residue or surface damage.
7. The Suction Cup Is Dirty, Worn, or Damaged
Inspect each cup after removing and cleaning the shelf. Look for cracks, cuts, hardened edges, permanent distortion, discoloration, or debris embedded in the material.
A misshapen cup may no longer sit flat. A damaged lever, pump, cover, or mounting plate may also keep the system from creating or maintaining its intended seal.
Check whether the manufacturer provides approved replacement parts or restoration instructions. Use only guidance for the exact material and model.
For instance, IKEA publishes a care procedure for the suction cups used by its TISKEN products. That method should not be applied to another brand unless its manufacturer also approves it.
Replace or retire damaged parts rather than repeatedly reinstalling them.
8. The Shelf Needs Regular Rechecking
Suction storage is not necessarily a set-and-forget installation. Some products require periodic inspection, cleaning, reseating, or reactivation.
Check the shelf for tilting, sliding, clicking, loose covers, or gaps around the cups. Also inspect for soap buildup and mineral deposits.
Unload the shelf before making adjustments. Follow the manufacturer’s maintenance schedule when one is provided.
The need for frequent unplanned reattachment may indicate an incompatible surface, failing component, incorrect installation, or excessive load. Do not accept repeated sudden releases as normal operation.
How to Reinstall a Suction Cup Shower Shelf
Use the instructions supplied with your shelf as the controlling procedure. The following sequence is a general framework, not a replacement for product-specific directions.
- Remove and unload the shelf. Take down the complete system as directed and remove all bottles and accessories.
- Inspect the cups and surface. Look for cracks, deformation, residue, damage, texture, grout lines, and other seal interruptions.
- Clean according to both sets of instructions. Use methods approved by the shelf manufacturer and the surface manufacturer.
- Prepare the surface as directed. Dry, rinse, or otherwise prepare it exactly as specified. Do not assume every suction system is installed wet or dry.
- Choose an uninterrupted mounting area. Keep each cup away from grout lines, cracks, seams, coatings, and visible defects unless the instructions explicitly allow them.
- Engage the mechanism correctly. Press, lock, turn, or pump each component in the required order.
- Test the empty shelf. Use the manufacturer’s recommended stability check without pulling on it for support.
- Load it gradually. Add a few lightweight items first, distribute them evenly, and stay within every stated limit.
- Recheck stability. Inspect the shelf after loading and at the intervals directed by the manufacturer.
If the instructions specify a waiting or curing period, observe that exact period. There is no universal waiting time for suction products.
Do not leave the shelf loaded while you are uncertain about its stability, especially where a falling item could strike someone.
Which Shower Surfaces Work Best With Suction Shelves?
Surface suitability depends on the exact suction system and the condition and treatment of the material.
 Save
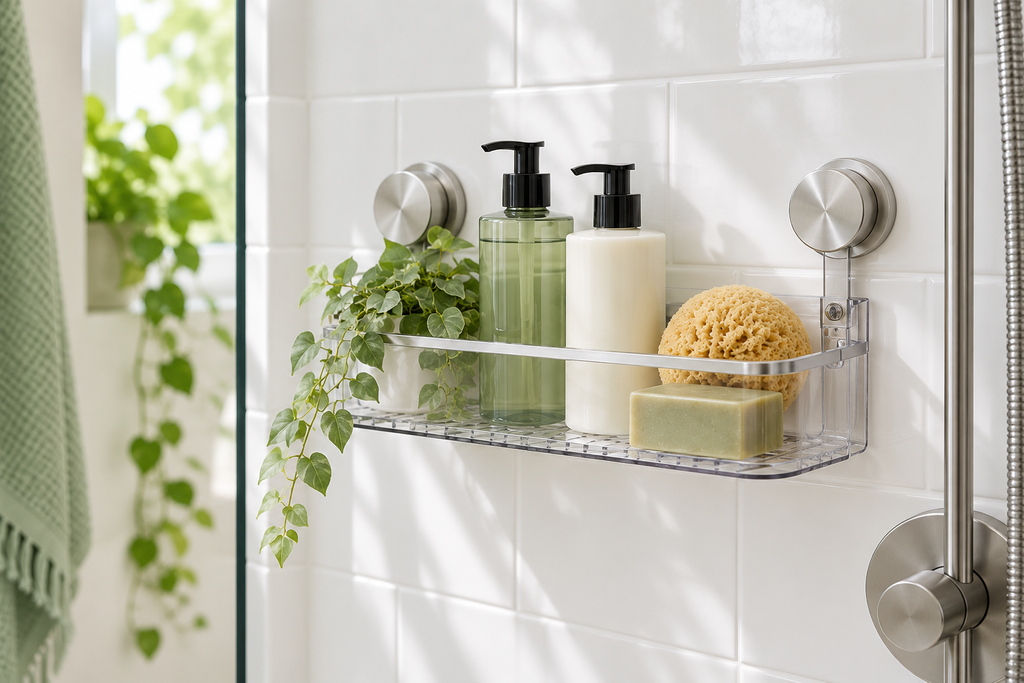
SaveSmooth glazed ceramic or porcelain tile is often a suitable candidate when each cup fits entirely on a flat tile face. Texture, cracks, pronounced patterns, and grout lines can interfere with the seal.
Smooth glass may provide an even surface, but confirm that the glass is approved. Coatings, films, etched areas, and decorative treatments may affect compatibility or cleaning requirements.
Textured tile is commonly difficult for suction cups because its surface variations admit air. A glossy appearance does not prove that the tile is flat enough.
Grout generally does not provide the uninterrupted, nonporous surface a suction cup needs. Keep cups off grout lines unless the product manufacturer says otherwise.
Natural stone varies in porosity, finish, sealant, and texture. Seek guidance for the particular stone and suction product before mounting anything.
Acrylic or fiberglass surrounds may be smooth, but they can flex, carry coatings, or have cleaning restrictions. Compatibility cannot be determined from appearance alone. Check the surround and shelf documentation.
Coated or treated glass requires the coating manufacturer’s care and attachment guidance. A cleaning method suitable for untreated glass may affect the coating.
When you cannot identify the surface, ask the landlord or property manager before installation.
What Not to Do When a Suction Shelf Keeps Falling
Avoid these responses to an unstable shelf:
- Do not add more weight to test it. Test the empty shelf as directed, then load it gradually.
- Do not use the shelf for support. It is not a grab bar and should not carry body weight.
- Do not mount over prohibited grout lines or damaged surfaces. Moving it slightly may not solve an incompatible mounting area.
- Do not add random adhesives. Glue, tape, or sealant can interfere with the mechanism and damage the rental surface.
- Do not cut, stretch, heat, coat, or reshape suction cups without manufacturer approval.
- Do not hang breakable, sharp, heavy, or hazardous containers where they could fall.
- Do not repeatedly reinstall a damaged cup. Inspect it and obtain an approved replacement if available.
- Do not exceed the stated load limit. Using several cups does not automatically increase capacity.
- Do not ignore movement. Tilting, slipping, or loose locks call for unloading and inspection.
When to Stop Using the Suction Shelf
- Stop using the shelf if it releases suddenly more than once after correct installation on an approved surface.
- Retire or repair it according to manufacturer guidance if a suction cup is cracked, permanently deformed, stiff, or unable to sit flat.
- A damaged locking lever, pump, cover, or mounting plate is another reason to stop.
- Remove the shelf if the wall surface cracks, discolors, flexes, delaminates, or otherwise changes.
- A shelf that cannot remain stable within its permitted load is not suitable for continued use in that location.
Photograph the condition and contact the property manager when appropriate.
Moving it to another surface is reasonable only when the manufacturer approves that surface and every component remains serviceable.
Do not position a questionable shelf where another fall could strike someone, damage a tub or shower floor, or release hazardous contents.
Suction vs Adhesive Shower Shelves
Suction shelves depend on a maintained seal against a compatible surface. They can often be released and repositioned, but texture, grout, dirt, wear, and air leakage may affect performance.
Adhesive shelves rely on a bonded mounting system. They may work where a particular suction product will not, but surface preparation, moisture, load, waiting periods, and careful removal all matter. Adhesive can leave residue or affect finishes.
A fuller guide to adhesive vs suction shower shelves can help you compare the installation, maintenance, and removal tradeoffs.
Neither option is universally damage-free or suitable for every bathroom. Choose based on the product instructions, surface, expected load, and lease rules.
Renter-Friendly Alternatives if Suction Will Not Work
If the wall cannot support a reliable suction seal, consider a different storage method rather than repeatedly remounting the same shelf.
A tension shower caddy can provide vertical shelves when its upper and lower contact points are suitable. It applies pressure to those points, so ceiling condition, height range, stability, and installation instructions still matter.
An over-the-door organizer may hold towels or lightweight toiletries outside the shower if the hooks fit the door and frame clearance. Suitable adhesive shelves are another possibility when the manufacturer approves the surface and the lease permits them.
Freestanding storage, a slim cart, or organizers beneath the sink can keep supplies outside the wet area. A broader guide to bathroom storage without drilling can help identify an option that fits the room without relying on suction.
Frequently Asked Questions
Why do my suction cups keep falling off shower tile?
The tile may be textured, dirty, coated, cracked, or too small to keep the cups off grout lines. The cups may also be incompletely engaged, worn, or carrying too much weight.
Unload the shelf, inspect every component, and verify that the exact tile surface is approved by the manufacturer.
How do you make suction cups stick better in a shower?
Use a compatible smooth surface, clean the cup and wall as directed, position the cup away from grout and defects, and engage the mounting mechanism exactly as instructed.
Test the shelf empty, load it gradually, and observe its stated limits. Do not add an unapproved substance or adhesive.
Do suction cups work over grout lines?
Usually, a grout line interferes with the continuous seal by creating a gap or air channel. Many suction products require the entire cup to sit on a smooth, flat surface.
Follow the exact product instructions. If the cups cannot fit between grout lines, choose another storage method.
Can suction shower shelves hold shampoo bottles?
Some are designed to hold shower bottles within stated load limits. Check the shelf dimensions and the manufacturer’s capacity for the exact model.
Account for bottles when full, distribute weight evenly, and avoid operating pump dispensers on the shelf unless the instructions permit it. Keep breakable containers elsewhere.
Do suction cups work on textured tile?
Many suction cups cannot maintain a seal on textured tile. The extent and type of texture matter, as do the suction system’s design and approved surfaces.
Do not try to compensate with random adhesives or modifications. Choose a mounting method compatible with the wall.
Should suction cups be wet or dry before installation?
There is no universal rule. Some products specify a clean, dry surface, while another system may give different preparation instructions.
Follow the exact method supplied by the manufacturer. Do not wet, lubricate, or treat the cup unless those instructions tell you to do so.
Final Thoughts
When a suction cup shower shelf keeps falling, treat the fall as evidence that the surface, seal, installation, load, or component condition needs attention.
Unload the shelf and inspect it before trying again. Clean and prepare the mounting area as directed, keep cups off grout lines, engage the mechanism correctly, and add weight gradually.
If the shelf repeatedly releases despite correct use on an approved surface, stop using it. Another no-drill storage method may be a better fit for the bathroom and a lower-risk choice for the rental.