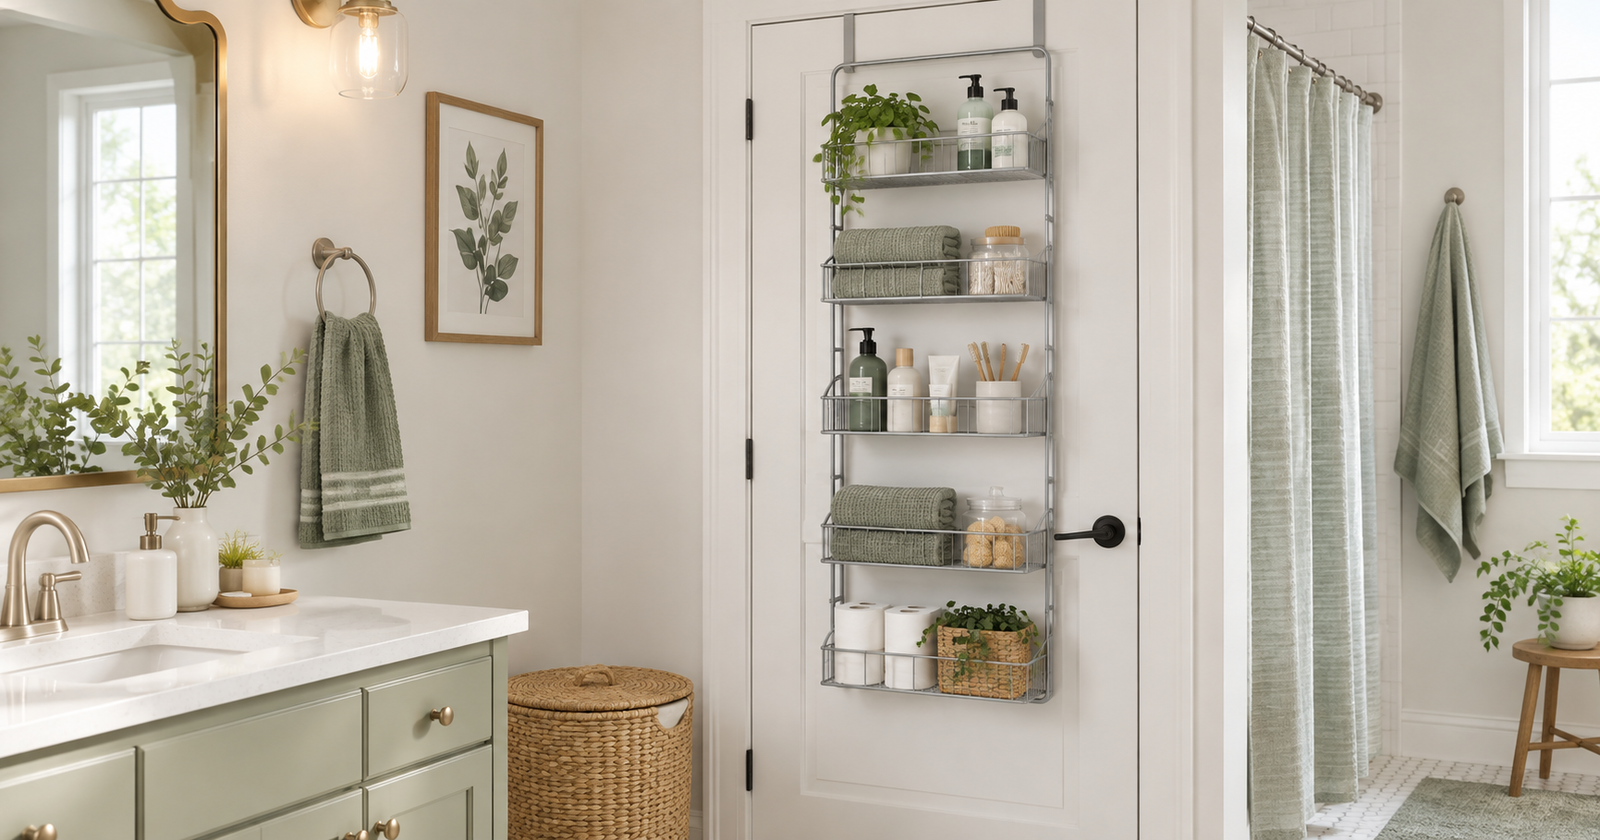
Over-the-door bathroom storage can turn an unused door into a place for towels, toiletries, and everyday essentials. But the right fit involves more than finding an organizer that’s narrower than the door. The hooks need to fit, the door must close normally, and the loaded organizer needs room to move without hitting anything.
For renters, those details matter. A poorly fitted rack can rub paint, press against the frame, or swing into a nearby wall. A suitable organizer should make the bathroom easier to use without creating a maintenance problem.
Here’s how to measure your space, choose useful storage, and recognize when a different approach makes more sense.
Is Over-the-Door Bathroom Storage Good for Renters?
It can be, especially when floor space is limited and wall mounting isn’t practical. Many organizers lift off when you move, and some need no screws or adhesives.
However, “over-the-door” doesn’t automatically mean damage-free or suitable for every door. Door construction, frame clearance, organizer design, and loaded weight all affect the result.
Check your lease before adding attachments. If the door already sticks, sags, or has loose hardware, ask the property manager about the existing problem before hanging storage.
Look closely at installation instructions, too. Some organizers use additional screws, adhesive pads, or stabilizing attachments. Make sure the complete installation method works for your rental—not just the top hooks.
What to Measure Before Choosing an Over-Door Organizer
Use a tape measure, a ruler for smaller gaps, and a place to record your measurements. Measure the actual bathroom door rather than assuming it matches another door in the apartment.
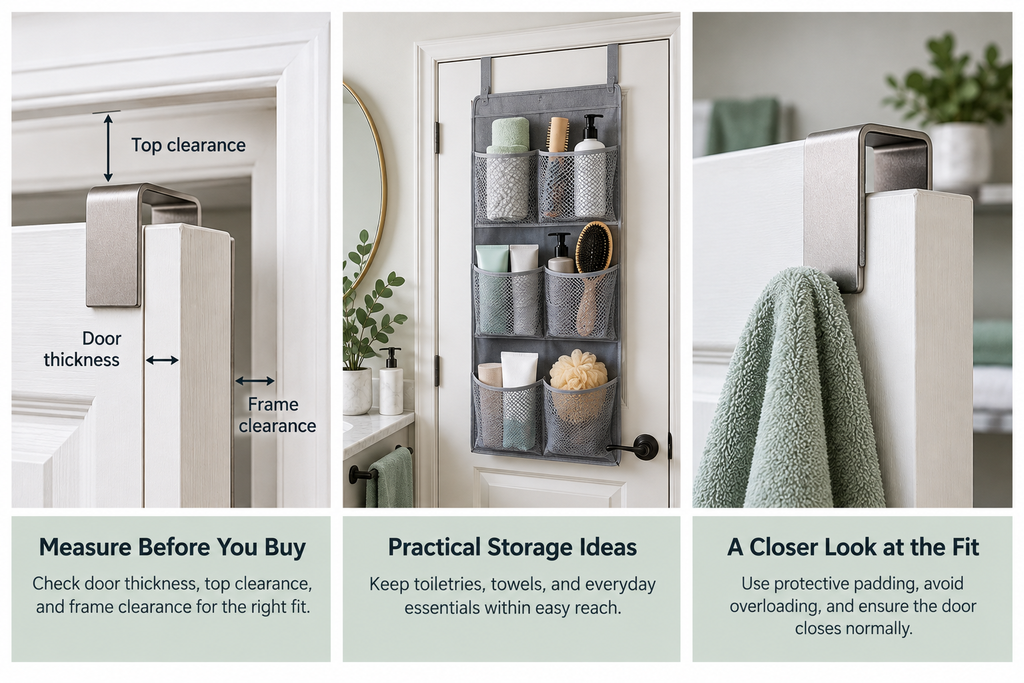
Door thickness
With the door open, measure across its top edge, from one face to the other. Compare that measurement with the organizer’s stated compatible door thickness and hook opening.
A tight hook can press into the finish; an oversized hook may move around. Manufacturers specify fit differently. For example, Umbra lists compatible door thickness for its Estique organizer, so check the exact model’s information rather than relying on the category name. Umbra’s organizer fit information
Top clearance
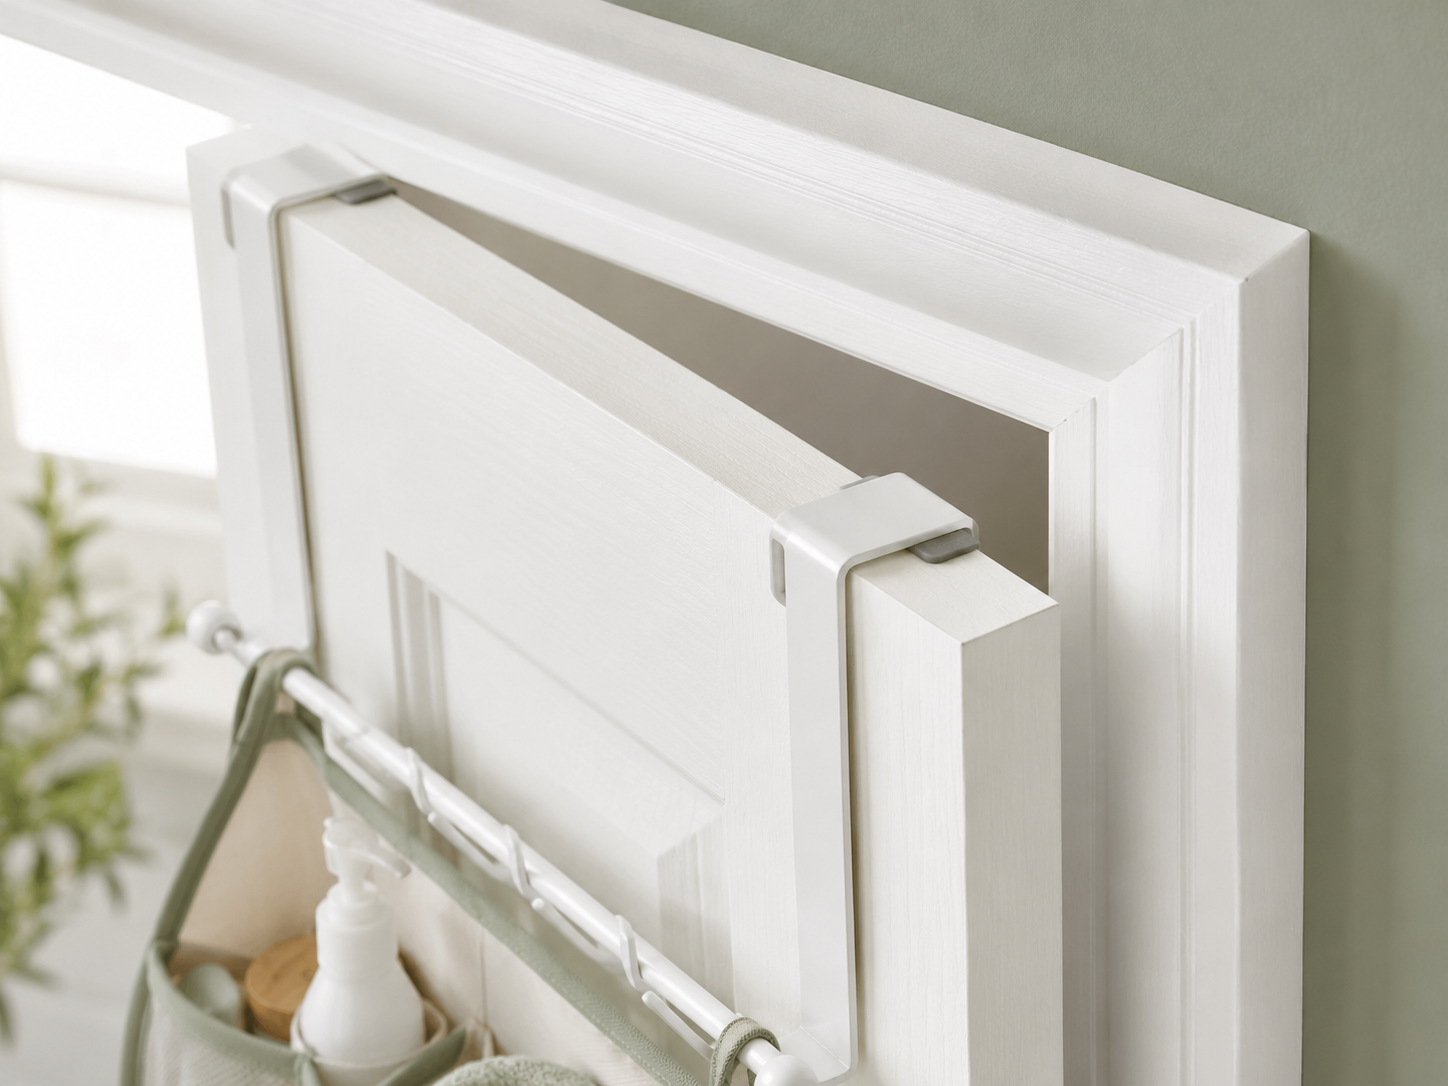
Check the gap between the top of the closed door and the frame at each intended hook position. Compare the smallest gap with the clearance required by the product.
The thickness of the bracket passing over the door is different from the width of its hook opening. You need both measurements. A hook can fit the door thickness but still prevent it from closing.
Frame clearance
Look at the raised strip the door closes against, along with surrounding trim. The bracket’s front or back section may meet these surfaces before the door reaches its normal closed position.
Don’t force the latch shut or bend a bracket to compensate for an incompatible fit.
Door swing and nearby fixtures
Slowly open the door through its usual range. Note nearby walls, the vanity, towel bars, toilet, and shower enclosure.
Measure available space at the closest points. An organizer must clear obstacles throughout the swing, not only when the door is fully open or closed.
Handle and lock position
Measure the usable width and height around the handle and lock. Leave room for your hand, not just the hardware itself. Pockets, hanging towels, and basket contents shouldn’t obstruct normal operation.
Organizer depth
Check the full projection from the door, including brackets, baskets, and anything sticking out of them. A soft pocket organizer may become considerably deeper when filled.
For a rough planning check, hold a ruler perpendicular to the door at the proposed storage location while the door is stationary. Keep it clear before moving the door.
Loaded weight
Add up what you actually plan to store, including full bottles and wet towels. Follow both total and individual compartment limits where provided.
The organizer’s capacity does not establish how much your particular door can support. Door condition and construction still matter. If you’re unsure, ask the property manager rather than estimating a safe load.
 Save
Save10 Practical Over-the-Door Bathroom Storage Ideas
1. Use Pocket Organizers for Small Toiletries
Pocket organizers work well for combs, hair ties, spare toothbrushes, and lightweight packaged supplies. Clear or mesh pockets can make small items easier to find.
Match pocket dimensions to the contents before buying. Tall bottles may lean out, while small items can disappear inside oversized pockets. Keep frequently used supplies within comfortable reach so you don’t need to pull on the organizer.
2. Add an Over-Door Towel Rack
A towel rack can supplement limited bathroom rails without taking up floor space. Choose spacing that lets towels hang openly rather than bunch together.
Check the loaded depth as well as the rack dimensions. Thick towels project beyond the bars and may touch nearby fixtures. Make sure their lower edges stay off the floor and don’t catch when the door moves.
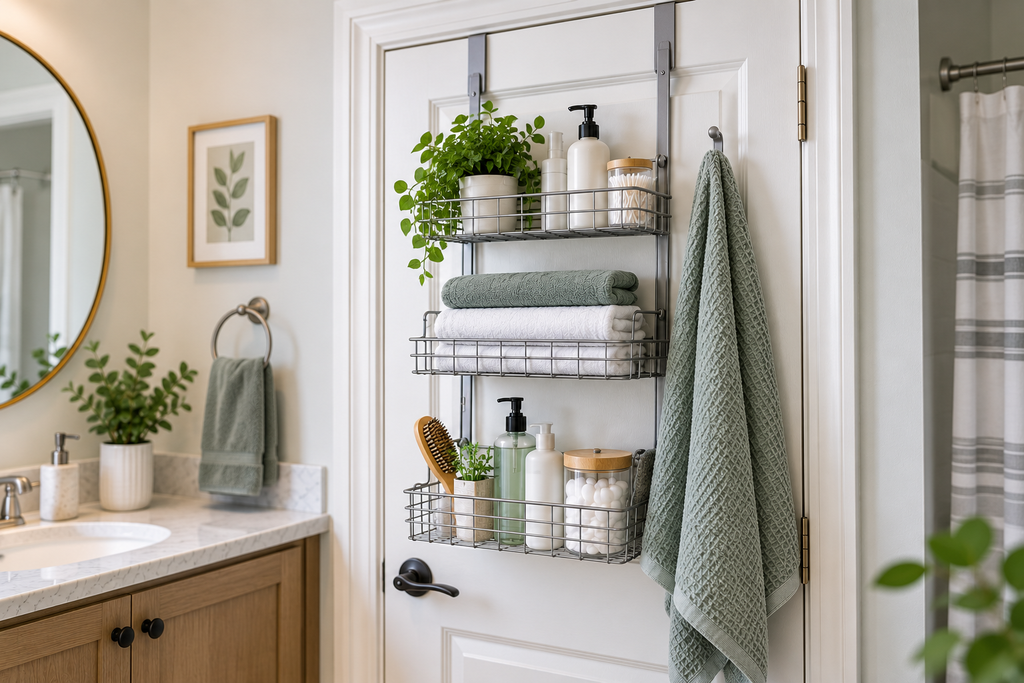
3. Use Baskets for Backup Toiletries
Shallow baskets can hold spare soap, toothpaste, and other dry supplies. They’re useful when bathroom cabinets are small but the door has adequate clearance.
Avoid treating every basket as a place for bulk refills. Full bottles add weight quickly. Choose a few lightweight backups, keep containers closed, and check that items won’t tip or fall out during ordinary door movement.
 Save
Save4. Create Separate Storage for Shared Bathrooms
Assign each person a pocket or basket for daily essentials. A simple label can reduce searching and keep one person’s supplies from spreading across the whole organizer.
Arrange compartments by comfortable reach rather than dividing them equally from top to bottom. Keep shared items in an accessible spot, and avoid storing private or hazardous items where children can reach them.
5. Store Hair Tools Carefully
Use a holder designed for the tools you own, with compartments that support them securely. Check the weight of the tools together, not individually.
Unplug tools and let them cool completely before storing them unless the holder’s instructions explicitly allow otherwise. Keep cords contained so they cannot become caught in the door or trail near water. Don’t operate tools while they hang in the organizer.
6. Use Shallow Organizers in Tight Bathrooms
A narrow bathroom may benefit more from a flat pocket panel than projecting baskets. Choose enough capacity for the essentials rather than the deepest unit that fits on paper.
Check how the loaded organizer affects standing space at the sink and toilet. Storage can clear the wall during the door swing yet still crowd the room when the door is closed.
7. Keep Wet and Dry Items Separate
Give damp towels and washcloths space to dry away from spare toilet paper, cotton products, and fabric pockets.
Avoid pressing wet textiles against the door finish. If towels repeatedly dampen the door or stay bunched together, move them to another suitable drying location. Use enclosed pockets for dry items, and choose washable materials where splashes are likely.
8. Protect Door Contact Points
Check the hooks, backing, and lower corners for rough edges or hard contact points. Use the protective pieces supplied by the manufacturer as instructed.
Extra padding isn’t always an improvement. It can tighten the hook opening or consume the gap above the door. If additional protection is permitted, choose a compatible material and recheck the fit. Don’t use padding to disguise a fundamentally loose or tight organizer.
9. Avoid Overloading the Door
Reserve door storage for lighter items you use regularly. Keep bulk liquids and heavy reserves on a suitable shelf or inside a cabinet.
Distribute contents according to the organizer’s instructions, and avoid loading one side heavily. Open the door gently. If the rack shifts, the door starts dragging, or the latch becomes harder to operate, unload and remove it while you investigate.
10. Choose Storage That Is Easy to Remove
Look beyond installation and consider cleaning, inspection, and moving day. Can you empty the organizer and lift it off without dragging the hooks across the finish?
Check whether removal also involves adhesive stabilizers or screws. Save the instructions and keep detachable parts together. A manageable organizer is easier to inspect regularly than a tall unit packed with supplies you rarely use.
How to Prevent Door and Frame Damage
No organizer is worth forcing a bathroom door shut. If the empty rack causes scraping, resistance, or difficulty latching, remove it and choose another storage method. Don’t sand the door, adjust rental hardware, or bend the hooks to make it fit without appropriate permission and manufacturer guidance.
 Save
SaveBefore installation, photograph existing scratches and inspect the door’s top edge, faces, and frame. Note peeling paint, swelling, and worn areas.
Then check the fit in stages:
- Install the empty organizer as directed. Confirm that every required support or stabilizer is suitable for your rental.
- Move the door slowly. Stop at the first sign of contact or resistance.
- Check the latch and lock. Both should work normally without an extra push.
- Add a modest load. Recheck movement, clearance, and stability.
- Inspect contact points periodically. Look for rubbing, dents, moisture, or shifting protective pads.
Remove dust or grit from contact areas using a finish-compatible cleaning method. Debris caught behind a moving rack can contribute to scratches.
If marks appear, stop using the organizer instead of adding more padding or tightening it further.
Over-the-Door Storage vs Adhesive Wall Storage
Both options can add bathroom storage without drilling, but they depend on different conditions.
If you are comparing wall-mounted no-drill options, our guide to adhesive vs suction shower shelves explains how surface compatibility, removal, moisture, and renter damage risk differ between the two methods.
| Consideration | Over-the-door storage | Adhesive wall storage |
|---|---|---|
| Main fit requirement | Compatible door thickness, frame gap, and swing clearance | Manufacturer-approved surface and installation conditions |
| Space used | Projects from a moving door | Projects from a fixed wall location |
| Common concerns | Rubbing, pressure marks, swinging, or obstructed closure | Paint lifting, residue, or attachment failure |
| Weight considerations | Organizer limits plus door suitability | Product limits plus surface and adhesive suitability |
| Removal | Often lifts off; check for extra attachments | Requires the product’s specified removal procedure |
| Useful applications | Lightweight toiletries and suitable towel storage | Hooks or shelves on compatible surfaces |
Adhesive storage also requires attention to moisture and removal access. For example, Command’s bathroom guidance identifies unsuitable surfaces and gives a specific downward-stretch removal method for its strips. Those instructions should not be assumed to apply to other adhesives. Command’s bathroom installation and removal guidance
Choose based on your bathroom’s constraints. Neither attachment method is automatically the lower-risk choice for every rental.
When Over-the-Door Storage Is Not a Good Choice
Choose another option if:
- The door already sticks, sags, or shows damage.
- There isn’t enough top or frame clearance.
- The organizer blocks the handle, lock, or normal opening.
- Nearby fixtures leave insufficient room for its loaded depth.
- Required attachments conflict with your lease.
- The contents are too heavy or the organizer won’t stay stable.
Pocket, sliding, and folding doors need particular caution; don’t assume a product intended for a hinged door will work.
If the door isn’t suitable, look at other bathroom storage without drilling. You may gain enough space by learning to organize under a bathroom sink, leaving the door free to function normally.
Frequently Asked Questions
How do I know whether an over-door bathroom organizer will fit?
Compare the door thickness, top gap, frame clearance, and available width with the product’s requirements. Then check loaded depth throughout the door’s swing. If the listing omits essential bracket dimensions, ask the manufacturer before buying.
Why won’t my door close with an organizer attached?
The bracket may be too thick for the top gap, or part of it may contact the frame or door stop. Remove the organizer rather than pushing harder. A different hook design may fit, but only if its measurements match the available space.
Can over-the-door storage damage a hollow-core door?
It can leave marks or cause problems if the attachment, pressure, or load is unsuitable. Don’t assume the organizer’s advertised capacity applies to the door. Check the product instructions and ask your property manager about suitability when the door’s construction or condition is uncertain.
How can I stop an over-door organizer from swinging?
Start with the correct hook fit, balanced contents, and any required manufacturer-provided stabilizers. Don’t improvise with adhesive or screws without checking compatibility and permission. If it still shifts during normal use, choose a more suitable organizer or location.
Is over-the-door storage suitable for wet towels?
Some towel racks are designed for that use, but check wet weight, bar spacing, and clearance from the door. Towels should hang without bunching or keeping the finish damp. A crowded hook arrangement may be less practical than spaced bars.
Final Thoughts
Good over-the-door bathroom storage starts with measurement, not capacity. Check the door, frame, surrounding fixtures, and intended contents before choosing an organizer.
Begin with a light load and confirm that the door still opens, closes, and locks normally. If the fit requires forcing, modifying, or repeatedly adjusting something, use a different storage location.