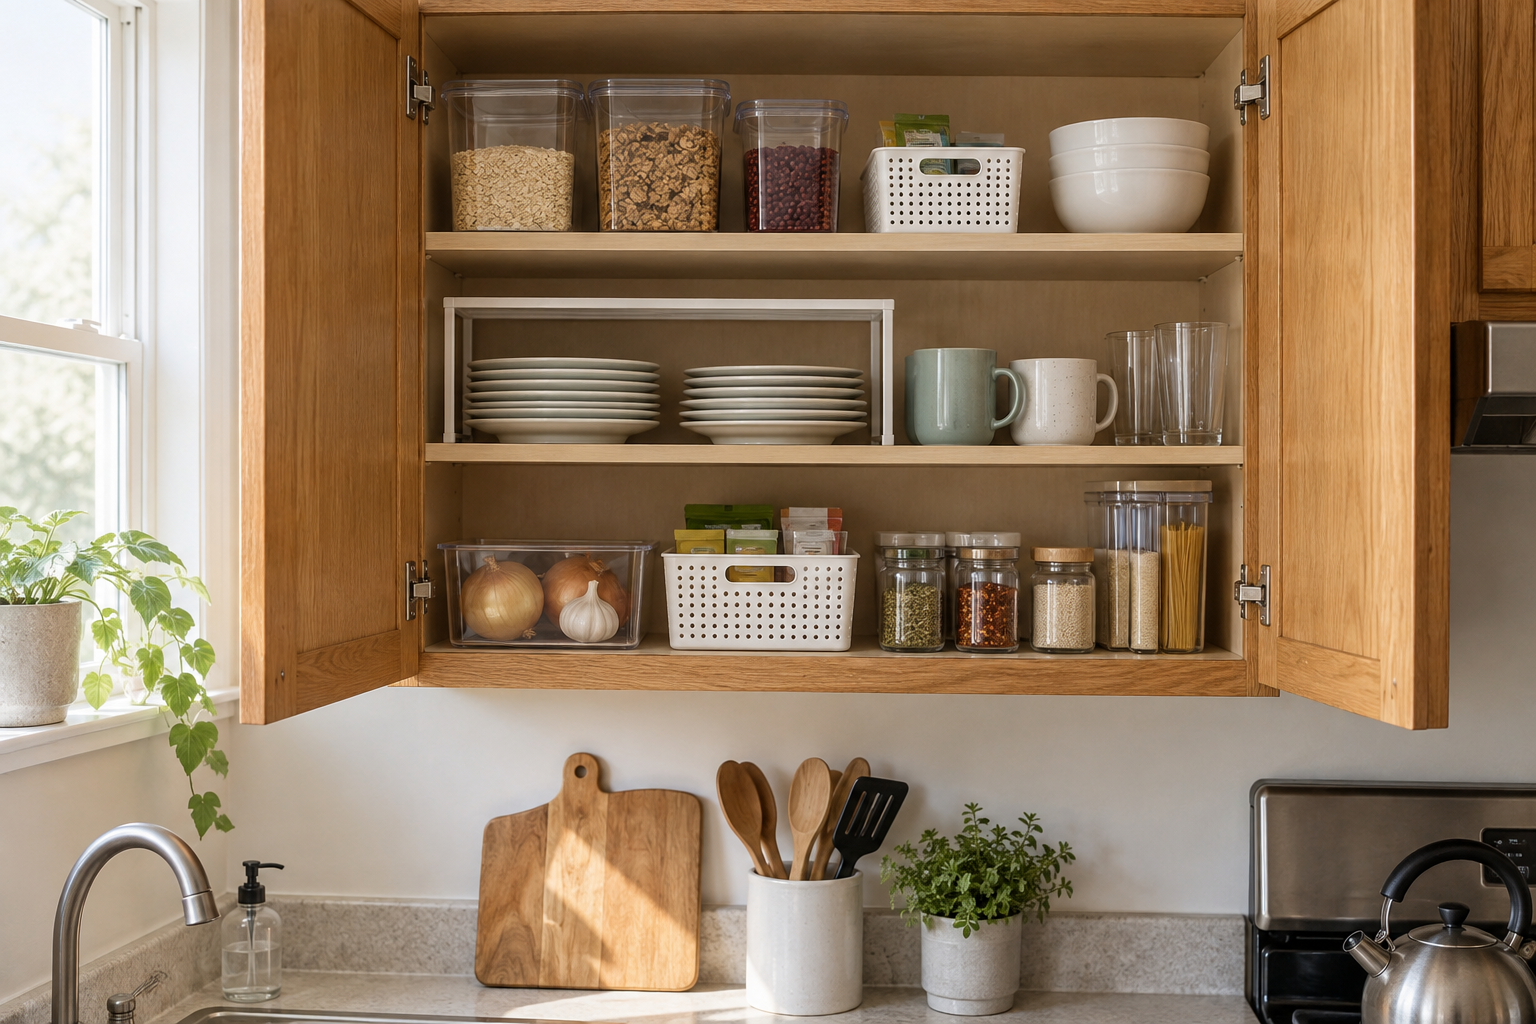
Kitchen cabinet storage without drilling is possible when renters focus on organizers that sit, stack, slide, clip, or tension inside the cabinet instead of attaching permanently to it. Shelf risers, turntables, freestanding drawers, bins, and removable dividers can make fixed rental cabinets much easier to use without changing the cabinetry itself.
The key is to work with the cabinet you already have. Before buying anything, measure the interior width, depth, shelf spacing, door clearance, and any hinges, pipes, or frame lips that reduce usable space. A good organizer should improve access without making the cabinet harder to close or forcing you to remove installed parts.
This guide covers 10 renter-friendly cabinet-storage ideas, what to measure first, which organizers work best in upper and lower cabinets, and the mistakes that can turn a useful no-drill setup into clutter.
Before Organizing a Rental Kitchen Cabinet, Measure the Interior
Cabinet dimensions can vary even within the same kitchen. Measure the exact cabinet you want to organize rather than relying on a product photo or a general cabinet size.
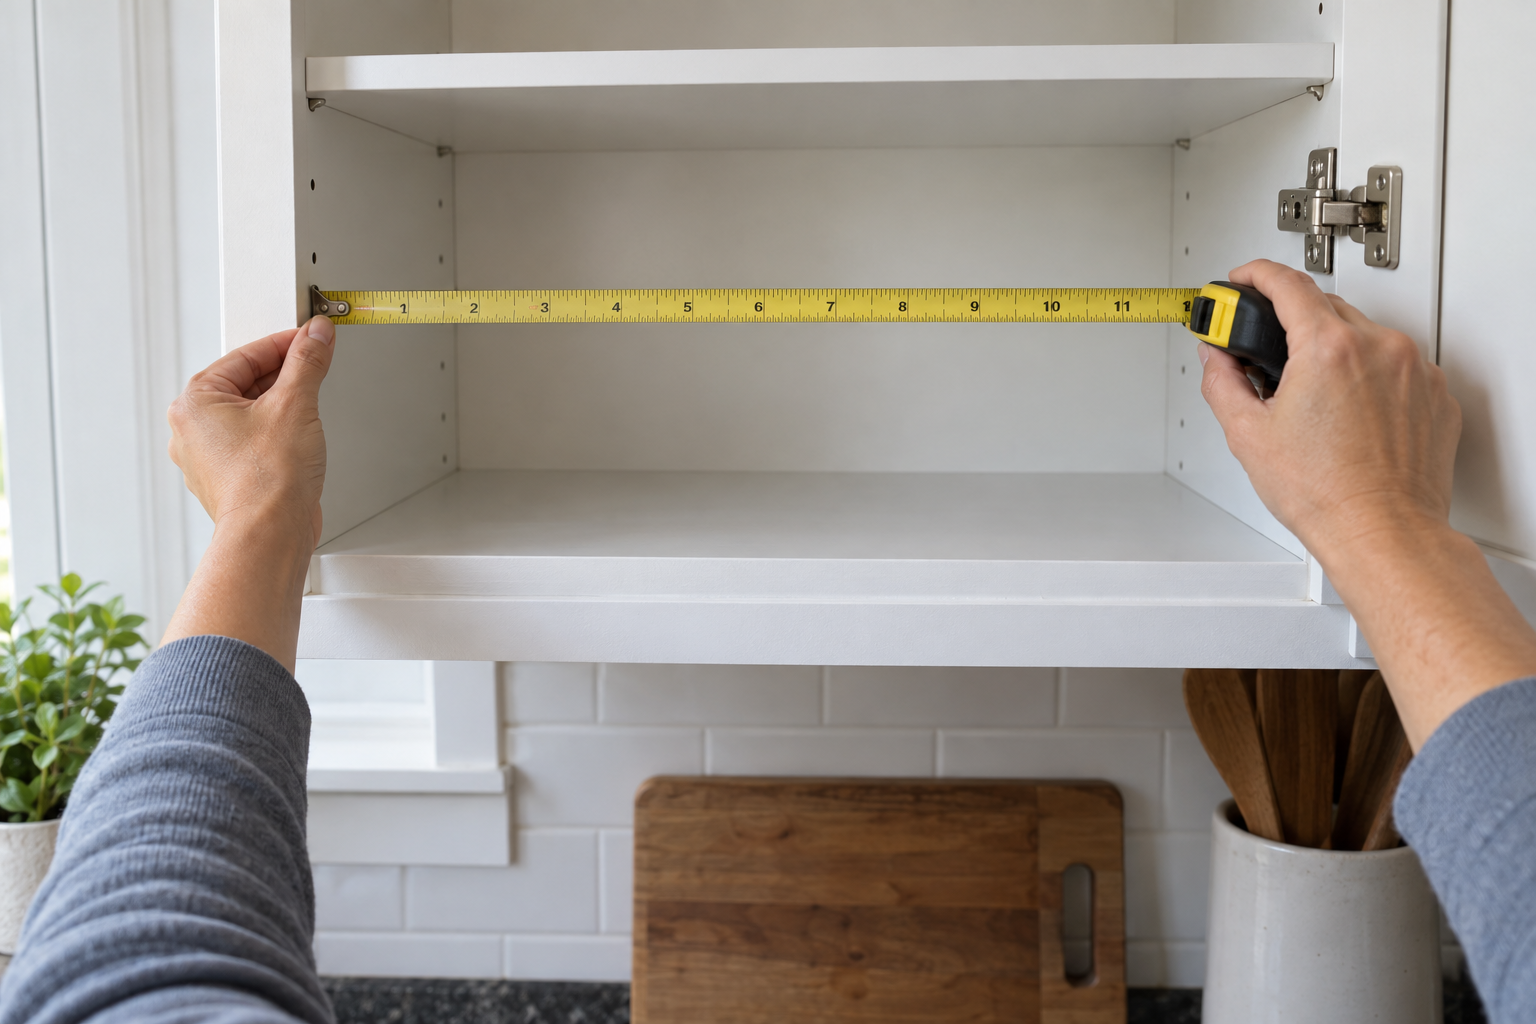
Check these measurements before buying an organizer:
- Interior width: Measure between the cabinet walls, not across the exterior face frame.
- Interior depth: Measure from the back wall to the point where the door can close without touching stored items.
- Vertical clearance: Measure between shelves and above the tallest item you plan to store.
- Door and hinge clearance: Check whether hinges or door hardware reduce the usable width near the front.
- Face-frame opening: Some cabinets have a narrower front opening than the interior, which matters for sliding drawers and bins.
- Shelf thickness: Measure this if you are considering an under-shelf basket or clip-on organizer.
Renter tip: Start with organizers that can be lifted out in seconds. Freestanding risers, bins, turntables, and drawers usually create less surface risk than adhesive or screw-mounted systems and are easier to take with you when you move.
10 Kitchen Cabinet Storage Ideas Without Drilling
1. Add a Freestanding Shelf Riser
A shelf riser creates a second level inside a cabinet without adding a permanent shelf. It works well for plates, mugs, bowls, canned foods, or pantry containers when there is unused vertical space above the existing shelf.
Choose a riser that fits the cabinet depth and leaves enough headroom to remove items comfortably. Avoid using the upper level for anything too heavy for the riser or existing cabinet shelf.
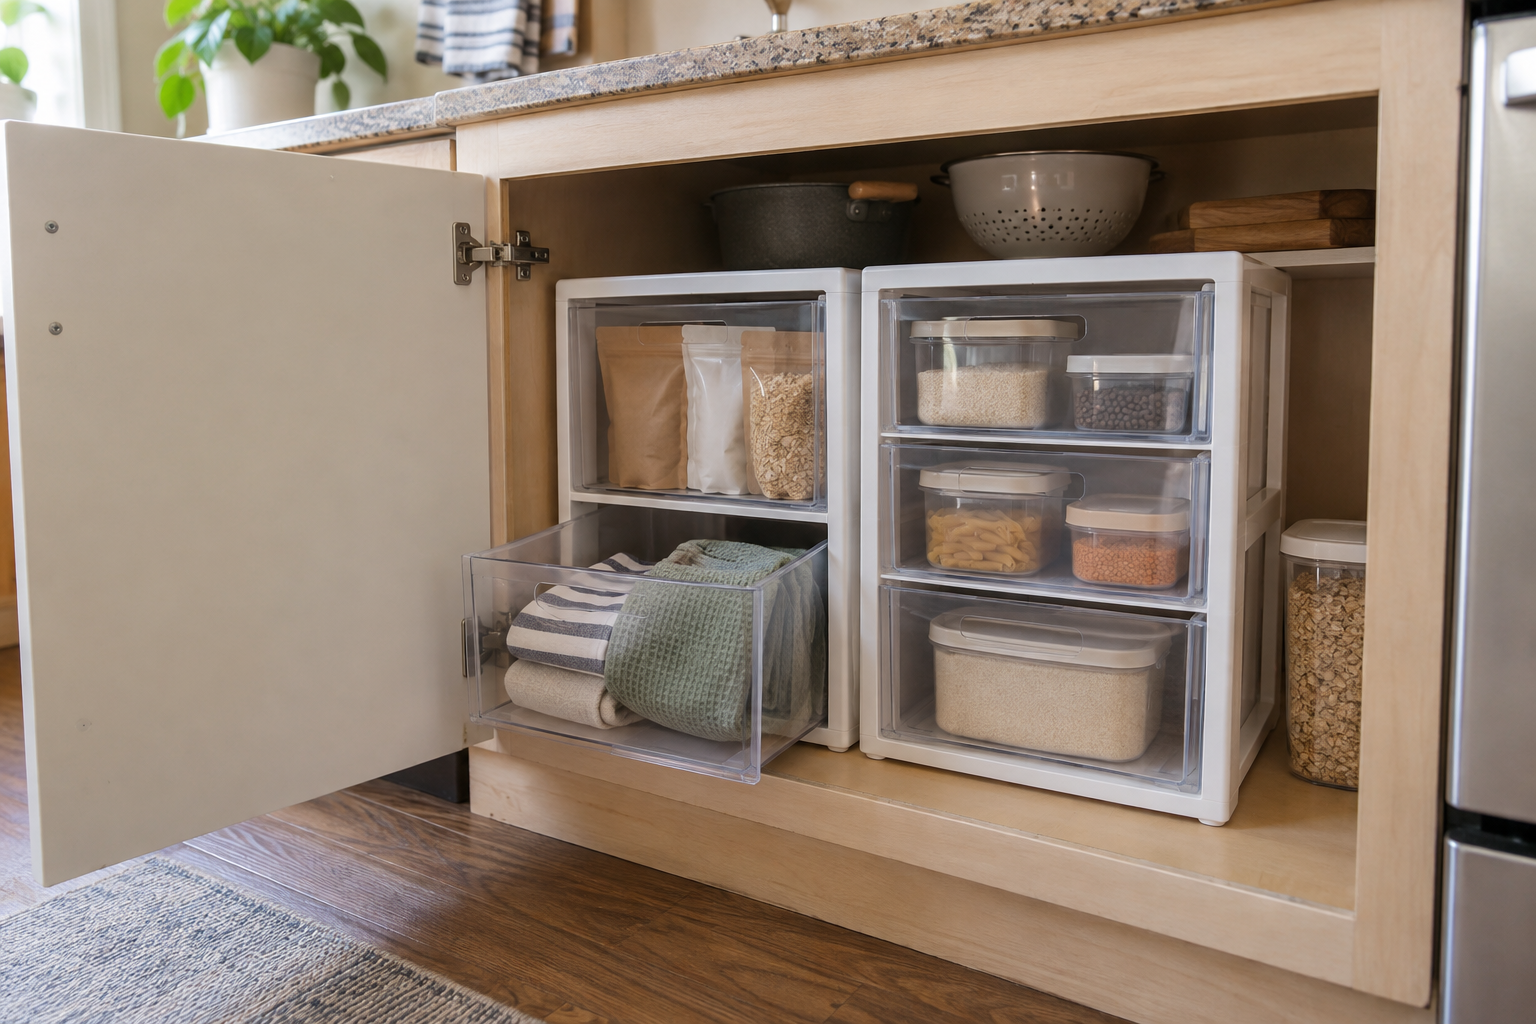
2. Use Stackable Freestanding Drawers
Freestanding drawers can make deep lower cabinets easier to use because they bring stored items forward instead of forcing you to reach behind the front row.
Measure the cabinet opening as well as the interior. A drawer unit may fit inside but still be too wide to pass through a face frame or clear the hinges. Keep the heaviest items on the lowest level and follow the organizer’s load guidance.
3. Place a Turntable in a Deep Cabinet
A turntable can improve access to jars, bottles, condiments, or pantry items in a deep cabinet. Instead of moving several containers to reach the back, you rotate the tray.
Check the tray diameter and the height of the items stored on it. Leave enough clearance around the edge for smooth rotation and avoid packing glass containers so tightly that they strike one another.
4. Use Clear Bins to Group Similar Items
Bins can turn a deep cabinet into simple zones. Group baking supplies, snacks, breakfast items, packets, or backup pantry goods so that each category can be pulled forward together.
Choose bins with handles when the cabinet is deep or the shelf is high. Avoid bins that are wider than the cabinet opening or so tall that you cannot see what is inside.
5. Add an Under-Shelf Basket
An under-shelf basket clips or slides over an existing cabinet shelf and creates a shallow storage layer underneath. It can work for wraps, lightweight packets, napkins, tea, or other flat items.
Measure the shelf thickness and the clearance below it. The basket should not sag into the items underneath or prevent the cabinet door from closing.
6. Use a Freestanding Pan or Lid Organizer
A freestanding rack can store frying pans, cutting boards, baking sheets, or pot lids vertically inside a lower cabinet. Vertical storage can make individual pieces easier to remove without lifting an entire stack.
Check the slot width and the height of the cabinet before loading the rack. Position heavier cookware so the organizer remains stable and does not tip when one item is removed.
7. Add Removable Shelf Liners
A removable non-adhesive shelf liner does not create extra capacity, but it can make a rental cabinet easier to clean and can reduce sliding beneath freestanding organizers.
Choose a liner that can be lifted out without leaving residue. Cut it to fit around hinges or cabinet corners rather than forcing material underneath hardware.
8. Use Tension Dividers in Tall Cabinets
Small spring-loaded or tension dividers can separate cutting boards, trays, lids, or baking sheets without screws. They can be useful in a tall cabinet where flat items otherwise lean into one another.
Use only enough tension to keep the divider stable. Excessive pressure against thin cabinet panels is unnecessary and may mark or stress the surface.
9. Create Zones by Shelf Height
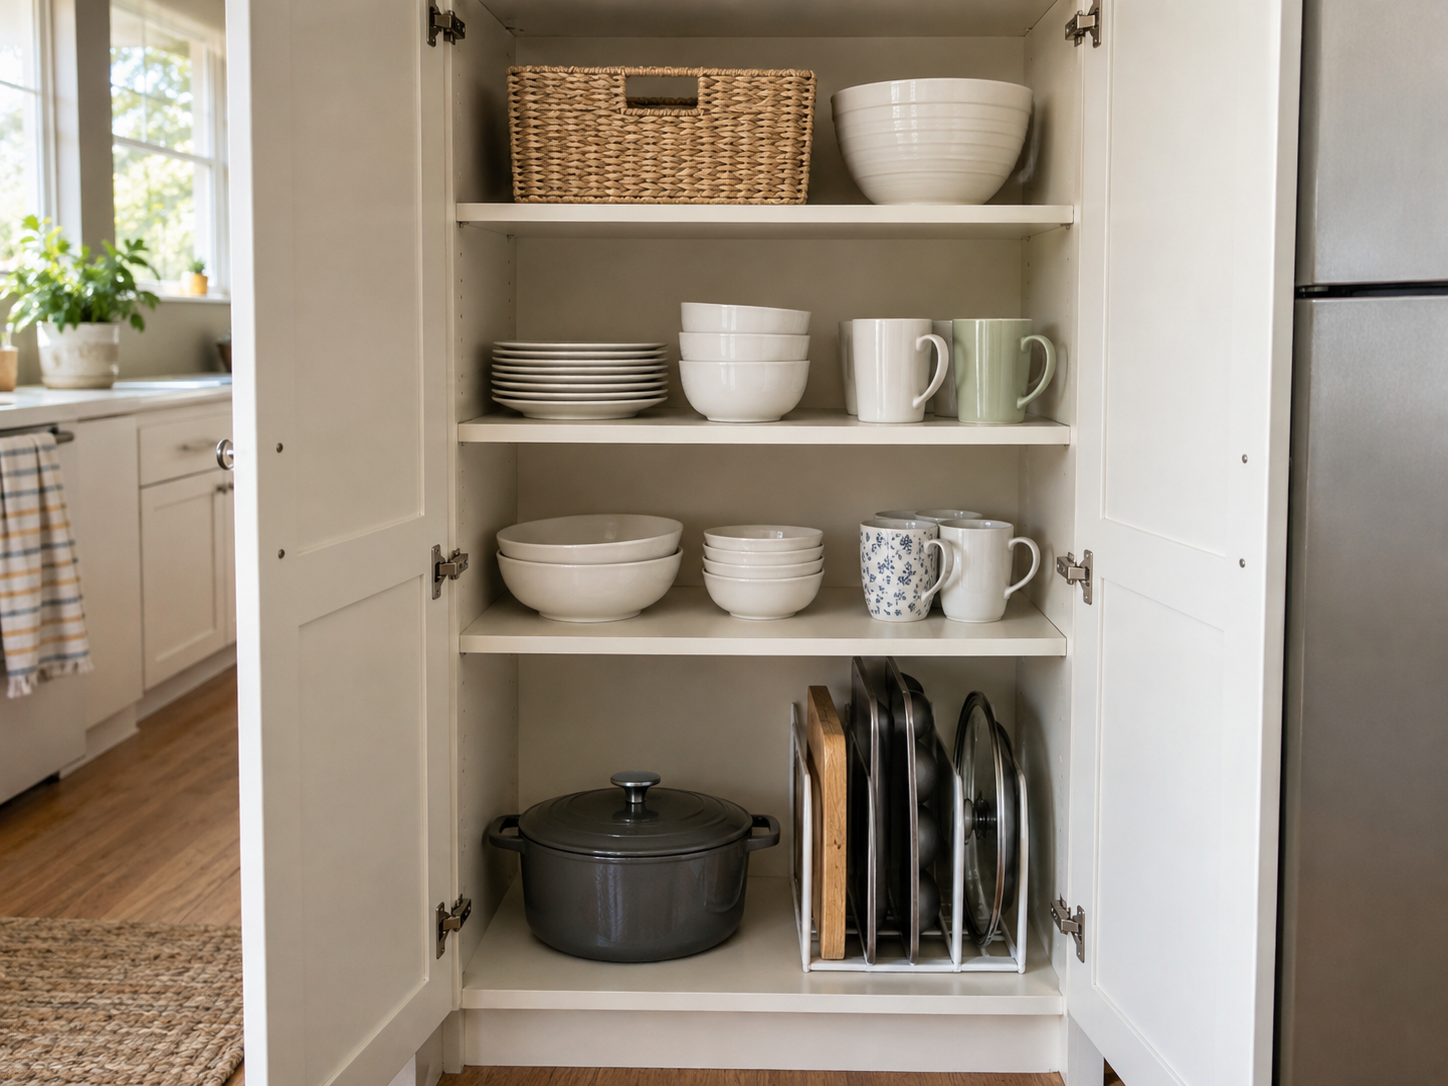
Organize each shelf around how often you use the items and how easy they are to reach. Keep everyday items between waist and eye level where possible, heavier items lower, and lightweight backups or occasional-use items higher.
This approach reduces unnecessary stacking and can make the cabinet easier to maintain because each type of item has a predictable location.
10. Use Portable Caddies for Frequently Moved Items
A handled caddy can hold baking supplies, cleaning accessories, coffee items, or other grouped essentials inside a cabinet. Pull out the whole caddy when needed, then return it afterward.
Portable caddies work best when the contents are relatively light and stable. Avoid placing open liquids or heavy glass containers in a caddy that will be moved frequently.
Which No-Drill Cabinet Organizer Fits Your Kitchen?
| Organizer | Best For | Main Advantage | What to Measure |
|---|---|---|---|
| Shelf riser | Plates, mugs, pantry goods | Uses vertical space | Width, depth, vertical clearance |
| Freestanding drawers | Deep lower cabinets | Pull-forward access | Cabinet opening and depth |
| Turntable | Jars and bottles | Rotating access | Diameter and item height |
| Clear bins | Grouped pantry items | Portable zones | Opening width and depth |
| Under-shelf basket | Lightweight flat items | Adds shallow storage | Shelf thickness and lower clearance |
| Pan or lid rack | Cookware and boards | Vertical separation | Slot width and cabinet height |
| Tension divider | Trays and baking sheets | No screws required | Interior height or width |
| Portable caddy | Grouped everyday supplies | Easy removal | Shelf depth and caddy handle height |
Store Pantry Foods in a Cool, Dry Cabinet Zone
Cabinet organization is not only about fitting more items into the space. The storage environment also matters. FoodSafety.gov recommends keeping shelf-stable foods in a cool, dry, dark location and away from heat sources such as ranges or refrigerator exhausts. Its food-storage guidance also notes that heat can shorten the useful storage life of canned and dried foods.
For renters, that means the cabinet directly above or beside a heat source may not be the best place for long-term pantry storage. Use those cabinets for items that are appropriate for the conditions, and keep dry foods where temperature and moisture are more stable.
Upper Cabinets vs. Lower Cabinets: What Works Best?
Upper and lower cabinets have different storage strengths. Matching the organizer to the cabinet location can make the whole kitchen easier to use.
- Upper cabinets: shelf risers, small bins, turntables, spice organizers, cups, dishes, and lightweight pantry goods.
- Lower cabinets: freestanding drawers, pan racks, larger bins, small appliances, mixing bowls, and heavier cookware.
- Tall cabinets: dividers for trays, cutting boards, lids, or vertical baking storage.
If the cabinet under the sink is the problem area, treat it separately because plumbing changes the usable footprint. Our guide to under-sink kitchen storage for renters covers organizers that work around pipes and accessible shutoff valves.
Common Kitchen Cabinet Storage Mistakes
- Buying before measuring the cabinet opening: An organizer may fit inside but not pass through the face frame.
- Stacking too high: Extra layers are not useful if you must remove several items to reach the one underneath.
- Ignoring hinges: Hinges can reduce usable width near the front of the cabinet.
- Using adhesive when a freestanding option would work: Choose the least permanent method that solves the storage problem.
- Overloading shelf risers: Follow both the organizer’s limits and the cabinet shelf’s practical capacity.
- Mixing unrelated items in deep bins: Grouping by category makes bins easier to maintain.
- Blocking the cabinet door: Test the fully loaded setup before considering the organization complete.
How to Organize Rental Kitchen Cabinets Step by Step
- Empty one cabinet at a time so the project stays manageable.
- Group similar items and remove expired, duplicate, or unused products.
- Measure the cabinet interior, front opening, hinges, shelf spacing, and door clearance.
- Choose the least permanent organizer that solves the specific problem.
- Place heavier items lower and frequently used items where they are easiest to reach.
- Use bins, risers, drawers, or turntables to make deep space easier to access.
- Close and open the cabinet several times after loading to check clearance.
- Reassess after a week and remove any organizer that creates more steps than it saves.
For the broader kitchen-storage plan, see our main guide to kitchen storage without drilling. For spice-specific cabinet ideas, see no-drill spice rack ideas. If you need additional storage outside the cabinets, our guide to freestanding kitchen shelving for renters covers portable floor-based options.
Frequently Asked Questions
How can renters add kitchen cabinet storage without drilling?
Renters can use freestanding shelf risers, stackable drawers, turntables, clear bins, under-shelf baskets, pan racks, tension dividers, and portable caddies. These options use the cabinet’s existing space without permanently attaching new hardware.
What is the best organizer for a deep kitchen cabinet?
Freestanding drawers, handled bins, and turntables are useful because they bring items forward or rotate them into reach. The best choice depends on the cabinet opening, depth, and the items you store.
Can I use adhesive organizers inside rental cabinets?
Possibly, but cabinet finishes vary and adhesives can behave differently on painted, laminated, or wood surfaces. If a freestanding, clip-on, or tension-based organizer works equally well, it usually involves less surface risk.
How do I organize kitchen cabinets with only one shelf?
A freestanding shelf riser can create a second level, while bins or turntables can improve access across the existing shelf. Measure vertical clearance first so the added level does not make items difficult to remove.
Should heavy items go in upper or lower cabinets?
Heavier items are generally easier and safer to store lower when the space and cabinet construction allow it. Keep frequently used items accessible and avoid overloading any shelf or organizer beyond its intended capacity.
Final Thoughts
Kitchen cabinet storage without drilling works best when renters improve access rather than simply trying to fit more items into every inch. The most useful organizers are the ones that can be removed easily, fit the exact cabinet, and make everyday items easier to reach.
Measure first, use vertical space carefully, group similar items, keep heavier items lower, and prefer freestanding or removable organizers before considering anything that attaches permanently to the cabinet.
A well-organized rental cabinet should close normally, protect the existing surfaces, and move with you when the lease ends.